Puff Pastry Chicken Pot Pie – Easy Comfort Food
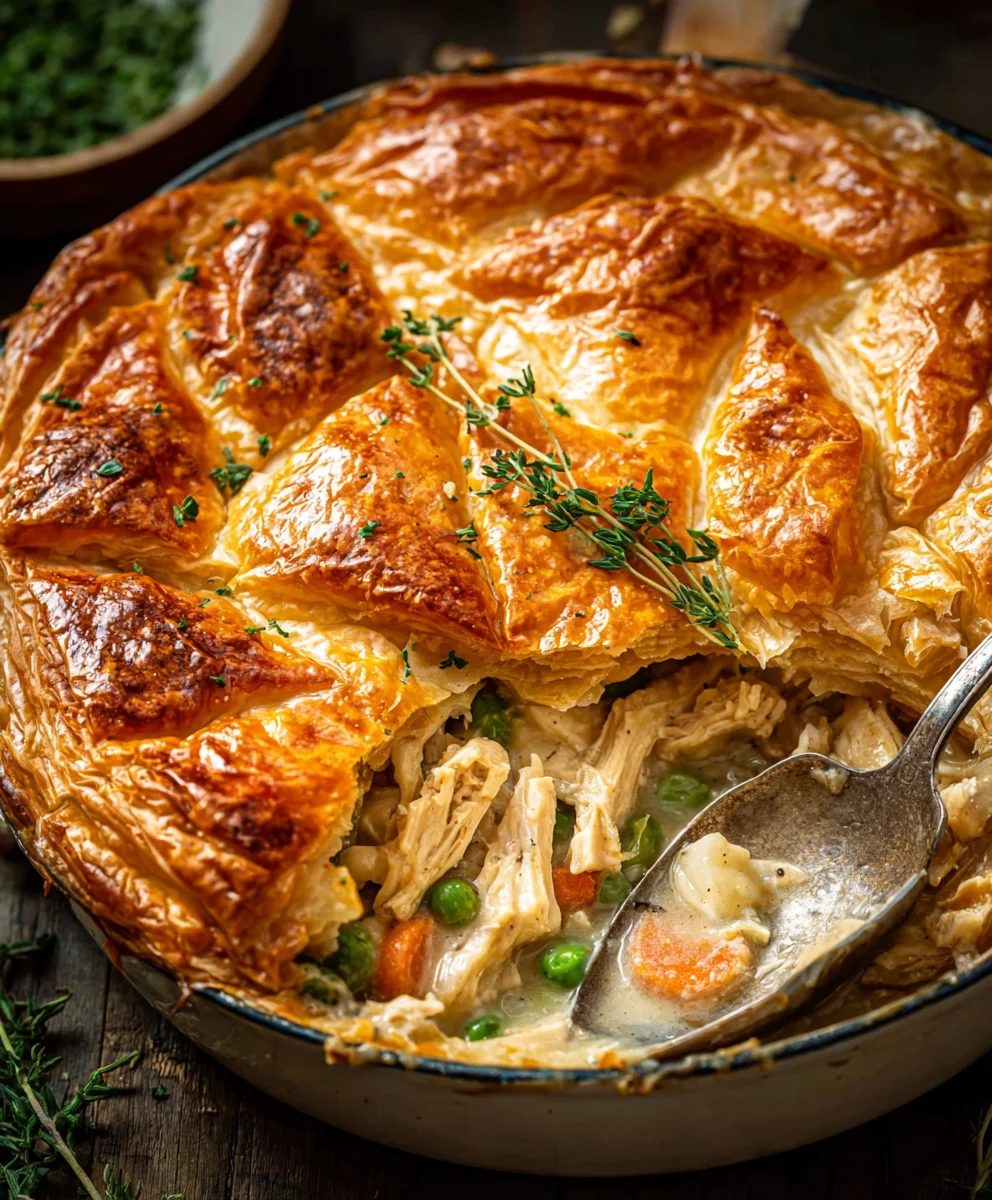
Puff Pastry Chicken Pot Pie is more than just a meal; it’s a warm, comforting embrace on a plate, a culinary hug that instantly transports you to cozy kitchens and happy memories. There’s a universal love for this dish, a reason why it’s a perennial favorite in households worldwide. Perhaps it’s the irresistible combination of flaky, golden puff pastry encasing a rich, creamy filling bursting with tender chicken and wholesome vegetables. What truly sets this particular Puff Pastry Chicken Pot Pie apart is the effortless elegance of the pastry itself. Unlike more labor-intensive pie crusts, our method utilizes store-bought puff pastry to achieve an unbelievably light and airy topping that shatters with every bite, creating a delightful textural contrast to the savory, hearty stew beneath. It’s a dish that feels both gourmet and incredibly approachable, perfect for a weeknight treat or a special Sunday supper.
Ingredients:
- ¼ cup unsalted butter
- 1 medium yellow onion, diced
- 2 medium carrots, peeled and diced
- 2 celery stalks, diced
- 6 cloves garlic, minced
- 1 tablespoon fresh thyme leaves (or ½ teaspoon dried thyme)
- ¼ cup all-purpose flour
- 2 ½ cups low sodium chicken broth
- ½ cup whole milk (or heavy cream)
- 3 cups shredded rotisserie chicken, skin removed
- 1 ¼ cups frozen peas, do not thaw
- Salt and pepper to taste
- 1 sheet frozen puff pastry, thawed
- 1 large egg, beaten
- 1 tablespoon water
- Fresh thyme, for garnish (optional)
Preparing the Filling
Sautéing the Aromatics
Let’s start by building a flavorful base for our Puff Pastry Chicken Pot Pie. In a large, heavy-bottomed pot or Dutch oven, melt the unsalted butter over medium heat. Once the butter is shimmering and just starting to foam, add your diced yellow onion, carrots, and celery. These vegetables are the classic mirepoix that forms the foundation of so many comforting dishes. Cook them, stirring occasionally, for about 8-10 minutes, or until they begin extract to soften and the onion becomes translucent. We’re not looking for browning here, just a gentle coaxing of their natural sweetness. Now, add your minced garlic and the fresh thyme leaves. Cook for another minute until the garlic is fragrant; be careful not to let it burn, as burnt garlic can impart a bitter flavor.
Creating the Roux and Thickening the Sauce
With your aromatics softened, it’s time to thicken our delicious filling. Sprinkle the all-purpose flour evenly over the cooked vegetables. Stir continuously for about 1-2 minutes, allowing the flour to cook slightly. This step is crucial as it removes the raw flour taste and helps create a smooth, lump-free sauce. This mixture of fat (butter) and flour is called a roux, and it’s our thickening agent. Gradually whisk in the low sodium chicken broth, a little at a time, ensuring each addition is fully incorporated before adding more. This gradual addition prevents lumps and ensures a velvety sauce. Bring the mixture to a simmer, stirring constantly. Once simmering, continue to cook for about 5 minutes, allowing the sauce to thicken. It should be thick enough to coat the back of a spoon.
Adding Creaminess and Chicken
Now, pour in the whole milk (or heavy cream if you’re feeling indulgent). Whisk it in until fully combined. Let the sauce return to a gentle simmer, and cook for another 2-3 minutes, continuing to stir. The milk will add a lovely creaminess and richness to the pot pie filling. Taste the sauce and season generously with salt and freshly ground black pepper. Remember, the rotisserie chicken is already seasoned, so you may not need as much salt as you think. Finally, stir in the shredded rotisserie chicken and the frozen peas. The peas will cook quickly in the residual heat of the filling. Stir everything together gently to distribute the chicken and peas evenly throughout the creamy sauce. Remove the pot from the heat and set it aside. The filling should be rich, creamy, and packed with tender chicken and sweet peas.
Assembling and Baking the Puff Pastry Chicken Pot Pie
Preparing the Puff Pastry and Egg Wash
Preheat your oven to 400°F (200°C). On a lightly floured surface, carefully unfold the thawed sheet of puff pastry. Puff pastry can be delicate, so try to handle it as little as possible. You can either cut the puff pastry to fit the top of your baking dish, or if you’re using individual ramekins, cut them to size. For a rustic look and easier serving, I often just drape the entire sheet over a medium-sized baking dish, allowing it to overhang slightly. For the egg wash, in a small bowl, whisk together the beaten egg and 1 tablespoon of water. This will give our puff pastry a beautiful golden-brown sheen and a crisp texture.
Baking to Golden Perfection
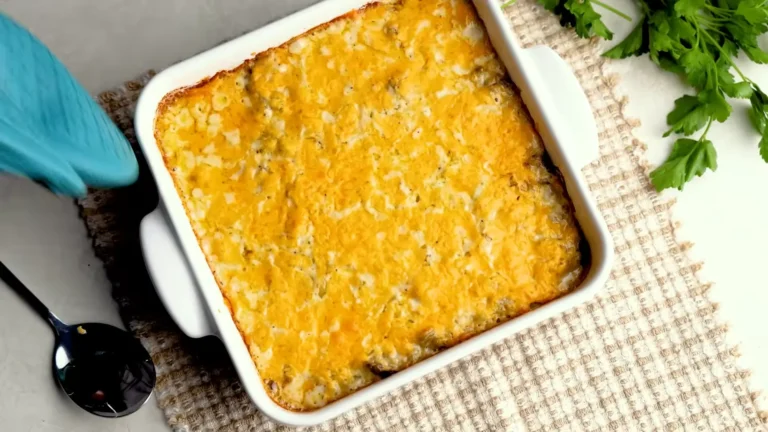
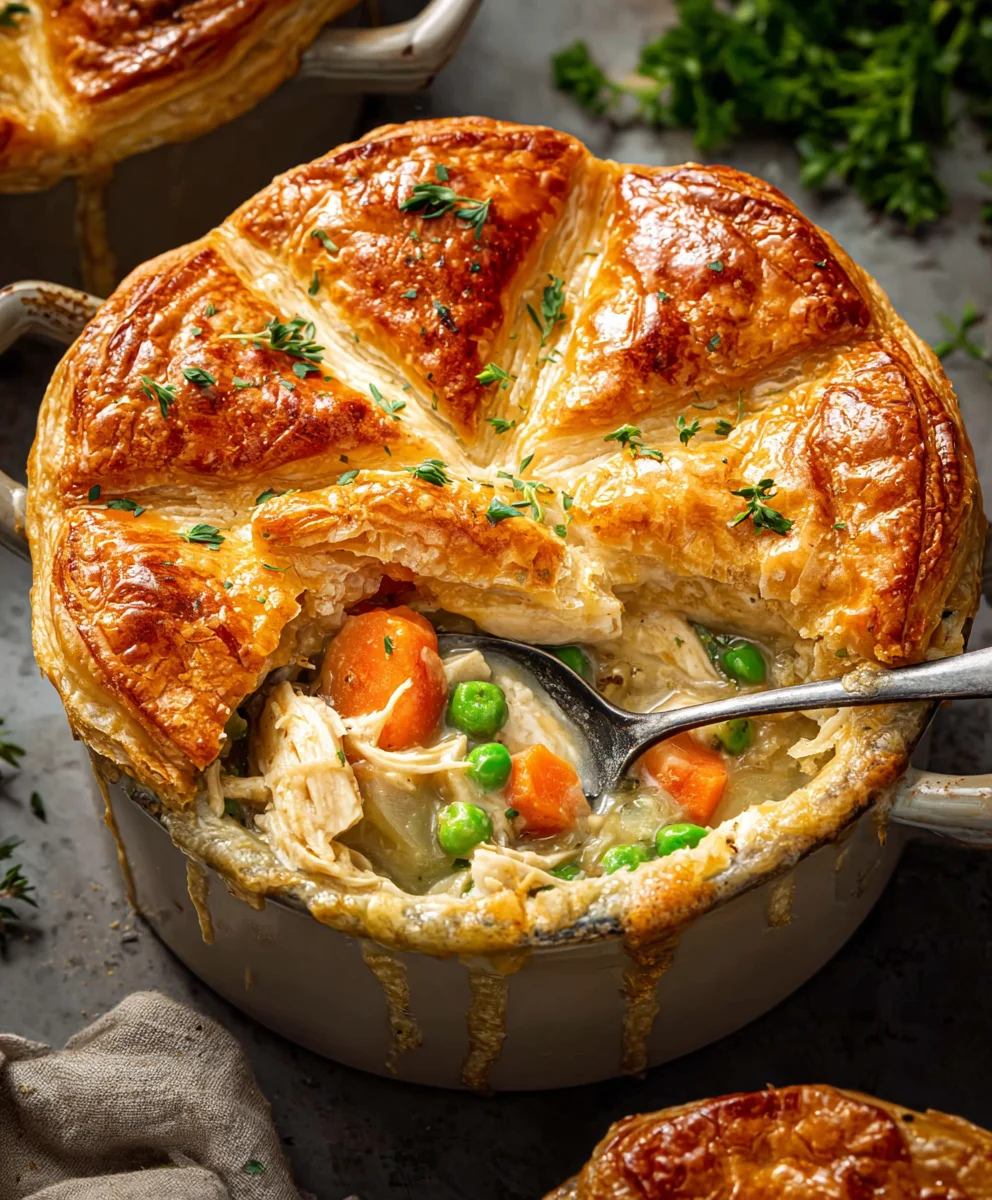
Pour the prepared chicken filling into your chosen baking dish or individual ramekins. If you’re using a larger dish, spread the filling evenly. If using ramekins, divide the filling among them. Carefully lay the puff pastry over the filling, pressing the edges down gently to seal it to the rim of the dish or ramekin. If you have excess pastry, you can trim it or create decorative cutouts to place on top. Brush the entire surface of the puff pastry generously with the egg wash. This is key to achieving that irresistible golden crust. If you like, you can sprinkle a little extra fresh thyme on top of the egg wash for added visual appeal and aroma. Place your baking dish or ramekins on a baking sheet (this catches any potential drips and makes it easier to transfer to and from the oven). Bake for 20-25 minutes, or until the puff pastry is puffed up, golden brown, and the filling is bubbling around the edges. Keep an eye on it towards the end of the baking time to prevent over-browning.
Conclusion:
And there you have it! Your very own delicious and comforting Puff Pastry Chicken Pot Pie. This recipe truly delivers on all fronts, offering a rich, savory filling encased in a flaky, golden puff pastry crust. It’s the perfect meal for a cozy evening in or a delightful centerpiece for a family gathering. We’ve loved sharing this classic with you and hope it becomes a favorite in your kitchen.
For serving suggestions, this Puff Pastry Chicken Pot Pie is fantastic on its own, but it also pairs wonderfully with a simple side salad dressed with a light vinaigrette to cut through the richness. A dollop of sour cream or a sprinkle of fresh parsley can add a lovely finishing touch.
Don’t be afraid to get creative with variations! You can swap out the chicken for leftover turkey or even use a blend of vegetables like peas, carrots, corn, and potatoes for a vegetarian version. For an extra layer of flavor, consider adding a pinch of thyme or a dash of nutmeg to the filling. The possibilities are truly endless!
We encourage you to give this Puff Pastry Chicken Pot Pie a try. It’s a rewarding dish that’s surprisingly achievable and guaranteed to impress. Enjoy the process, savor the aromas as it bakes, and most importantly, relish every single bite!
Frequently Asked Questions:
Can I make the puff pastry topping ahead of time?
Yes, you absolutely can! You can prepare the puff pastry lid a day in advance and keep it chilled in the refrigerator, or even freeze it for longer storage. If frozen, allow it to thaw completely in the refrigerator before placing it on top of your filling and baking.
What kind of chicken is best for this Puff Pastry Chicken Pot Pie?
Cooked chicken is ideal for this recipe, as it significantly cuts down on baking time. Leftover roasted chicken or rotisserie chicken is perfect. You can also cook boneless, skinless chicken breasts or thighs specifically for this pie; just ensure they are fully cooked before adding them to the filling mixture.
My puff pastry isn’t browning evenly. What can I do?
Ensure your oven is properly preheated and baking at the correct temperature. If one side consistently browns faster, you can carefully rotate the pie halfway through the baking process. Also, make sure the puff pastry is adequately thawed and not too cold when it goes into the oven, as this can affect its ability to puff and brown properly.
Puff Pastry Chicken Pot Pie – Easy Comfort Food
A classic and comforting chicken pot pie made easy with flaky puff pastry.
Ingredients
-
1/4 cup unsalted butter
-
1 medium yellow onion, diced
-
2 medium carrots, peeled and diced
-
2 celery stalks, diced
-
6 cloves garlic, minced
-
1 tablespoon fresh thyme leaves
-
1/4 cup all-purpose flour
-
2 1/2 cups low sodium chicken broth
-
1/2 cup whole milk
-
3 cups shredded rotisserie chicken, skin removed
-
1 1/4 cups frozen peas
-
Salt and pepper to taste
-
1 sheet frozen puff pastry, thawed
-
1 large egg, beaten
-
1 tablespoon water
Instructions
-
Step 1
Melt butter in a large pot over medium heat. Add diced onion, carrots, and celery. Cook for 8-10 minutes until softened. Add minced garlic and thyme, cook for 1 minute more until fragrant. -
Step 2
Sprinkle flour over the vegetables and stir for 1-2 minutes. Gradually whisk in chicken broth until smooth. Bring to a simmer and cook for 5 minutes until thickened. -
Step 3
Whisk in milk and return to a gentle simmer. Cook for 2-3 minutes, stirring. Season with salt and pepper. Stir in shredded chicken and frozen peas. -
Step 4
Preheat oven to 400°F (200°C). Unfold thawed puff pastry on a lightly floured surface. Prepare egg wash by whisking egg with water. -
Step 5
Pour filling into a baking dish. Lay puff pastry over filling, sealing edges. Brush with egg wash. Place on a baking sheet. -
Step 6
Bake for 20-25 minutes, or until puff pastry is golden brown and filling is bubbling.
Important Information
Nutrition Facts (Per Serving)
It is important to consider this information as approximate and not to use it as definitive health advice.
Allergy Information
Please check ingredients for potential allergens and consult a health professional if in doubt.