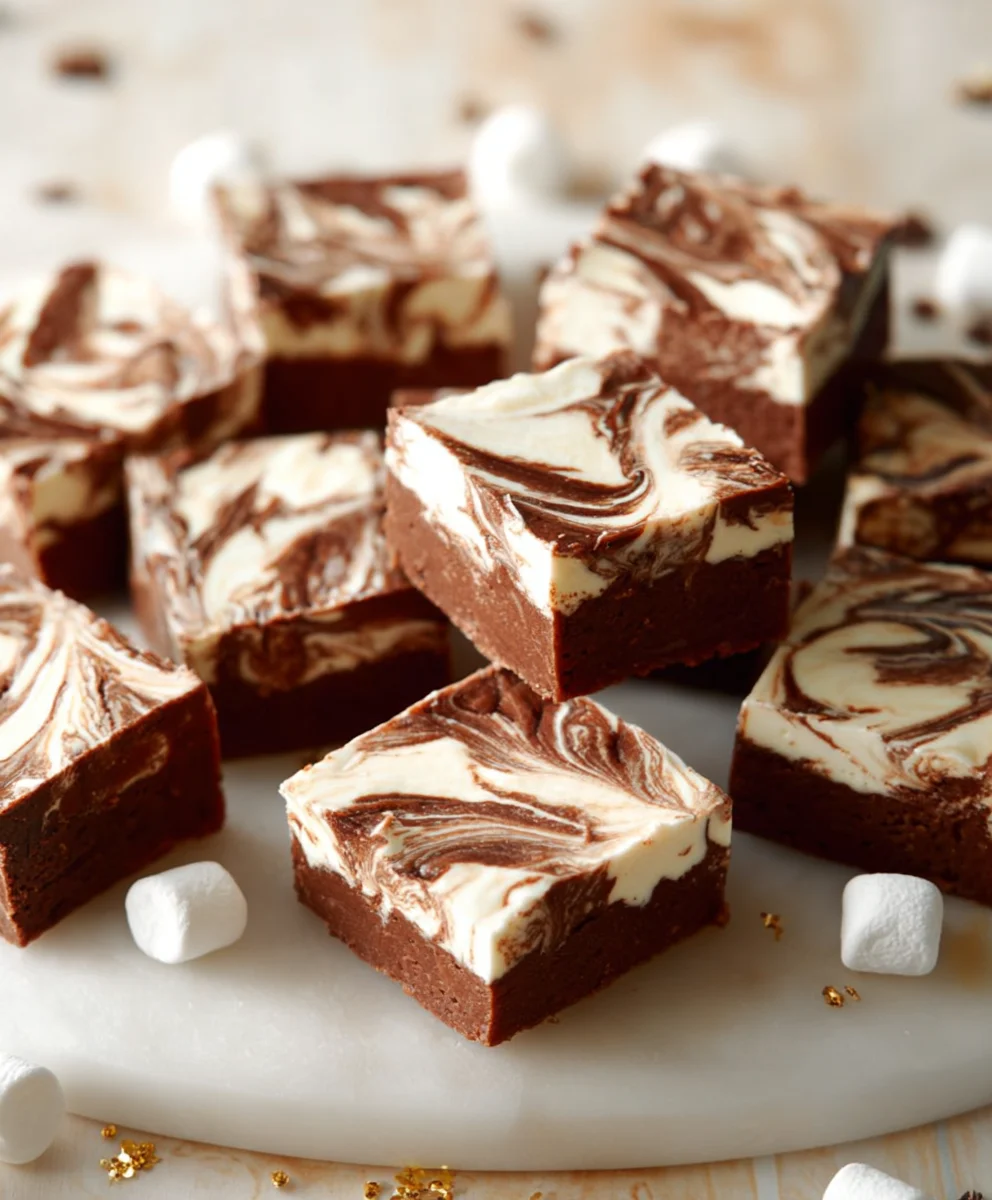
Marshmallow Swirl Fudge-Decadent Easy Recipe
Marshmallow Swirl Fudge is a truly magical treat that captures the hearts and taste buds of everyone who tries it. There’s something incredibly comforting and decadent about the rich, chocolatey base meeting the soft, gooey ribbons of marshmallow woven throughout. It’s the kind of dessert that evokes childhood memories and instantly brightens any occasion, making it a perennial favorite at bake snon-alcoholic ales, holiday gatherings, and spontaneous sweet cravings alike. What truly sets this Marshmallow Swirl Fudge apart is the perfect balance of textures and flavors; the deep cocoa notes are beautifully complemented by the airy sweetness of the marshmallow, creating an irresistible harmony that melts in your mouth. It’s surprisingly simple to create this showstopper in your own kitchen, bringin extractg a touch of homemade wonder to your dessert table.
Ingredients:
- 1 teaspoon vegetable oil
- 1 cup (2 sticks or 227g) unsalted butter
- 3 cups (600g) granulated sugar
- 1 cup (240ml) evaporated milk
- 1 teaspoon vanilla extract
- 1/2 teaspoon salt
- 1/4 cup (about 50g) mini marshmallows
- 1/4 cup (about 50g) miniature chocolate chips
- 1/4 cup (about 50g) chopped walnuts (optional)
Preparing Your Workspace and Equipment
Before we begin extract the magical process of creating Marshmallow Swirl Fudge, it’s crucial to have everything prepped and ready. This recipe comes together relatively quickly once you start, so efficiency is key to achieving that perfect swirl and smooth texture. First, line an 8×8 inch (20×20 cm) baking pan with parchment paper, leaving an overhang on two opposite sides. This overhang will act as handles, making it incredibly easy to lift the finished fudge out of the pan once it’s set. Lightly grease the parchment paper with your vegetable oil. This prevents the fudge from sticking, ensuring clean cuts later on. Have all your ingredients measured out and within easy reach. This includes your butter, sugar, evaporated milk, vanilla extract, salt, marshmallows, chocolate chips, and optional walnuts. Doing this prep work ahead of time will prevent any last-minute scrambling and help you maintain the correct temperature for the fudge.
Melting the Base
In a heavy-bottomed saucepan, combine the unsalted butter, granulated sugar, and evaporated milk. It’s important to use a saucepan with a thick bottom because this will help distribute the heat evenly, preventing the sugar from scorching. Place the saucepan over medium heat. Stir the ingredients constantly with a wooden spoon or a heatproof spatula until the butter is completely melted and the sugar has dissolved. Continue to stir as the mixture comes to a boil. Once it reaches a rolling boil – meaning it boils vigorously even when stirred – reduce the heat slightly to maintain a steady, gentle boil. This is where patience and constant stirring are your best friends. You need to cook this mixture for precisely 5 minutes, stirring continuously. The constant stirring is not just to prevent sticking; it also helps to break down sugar crystals and ensures a smooth, creamy fudge. If you stop stirring, you risk creating a grainy texture or even burning the bottom of the sugar mixture.
Reaching the Soft-Ball Stage
After the 5 minutes of boiling and stirring, remove the saucepan from the heat. Now comes the critical part: achieving the correct temperature for the fudge. You have a couple of options here. The most precise method is to use a candy thermometer. Clip it to the side of the saucepan, ensuring the tip is submerged in the mixture but not touching the bottom. Continue to cook the mixture, stirring occasionally, until it reaches the soft-ball stage, which is between 235°F and 245°F (113°C and 118°C). If you don’t have a candy thermometer, you can use the cold-water test. To do this, drop a small amount of the hot syrup into a glass of very cold water. If you can gather the syrup into a soft, pliable ball between your fingers, it’s ready. If it forms a hard ball, it’s overcooked; if it just disperses, it’s undercooked. This stage is crucial for the fudge’s texture. Too low, and it won’t set properly; too high, and it will be hard and brittle. Once the desired temperature is reached, immediately remove the pan from the heat.
Incorporating Flavor and Texture
Once the fudge base has reached the soft-ball stage, it’s time to add the magic ingredients that will give it its signature flavor and creamy texture. Stir in the vanilla extract and the salt. The vanilla extract will provide a warm, aromatic depth, while the salt helps to balance the sweetness and enhance all the other flavors. Now, this is where the “swirl” comes into play. Gently fold in the mini marshmallows and the miniature chocolate chips. Do not overmix at this stage. You want to see pockets of marshmallows and chocolate chips throughout the fudge, not a homogenous mixture. The residual heat from the fudge will start to melt the marshmallows and chocolate chips, creating those beautiful, gooey swirls. If you are using the chopped walnuts, gently fold them in now as well. Work relatively quickly because the fudge will start to cool and set.
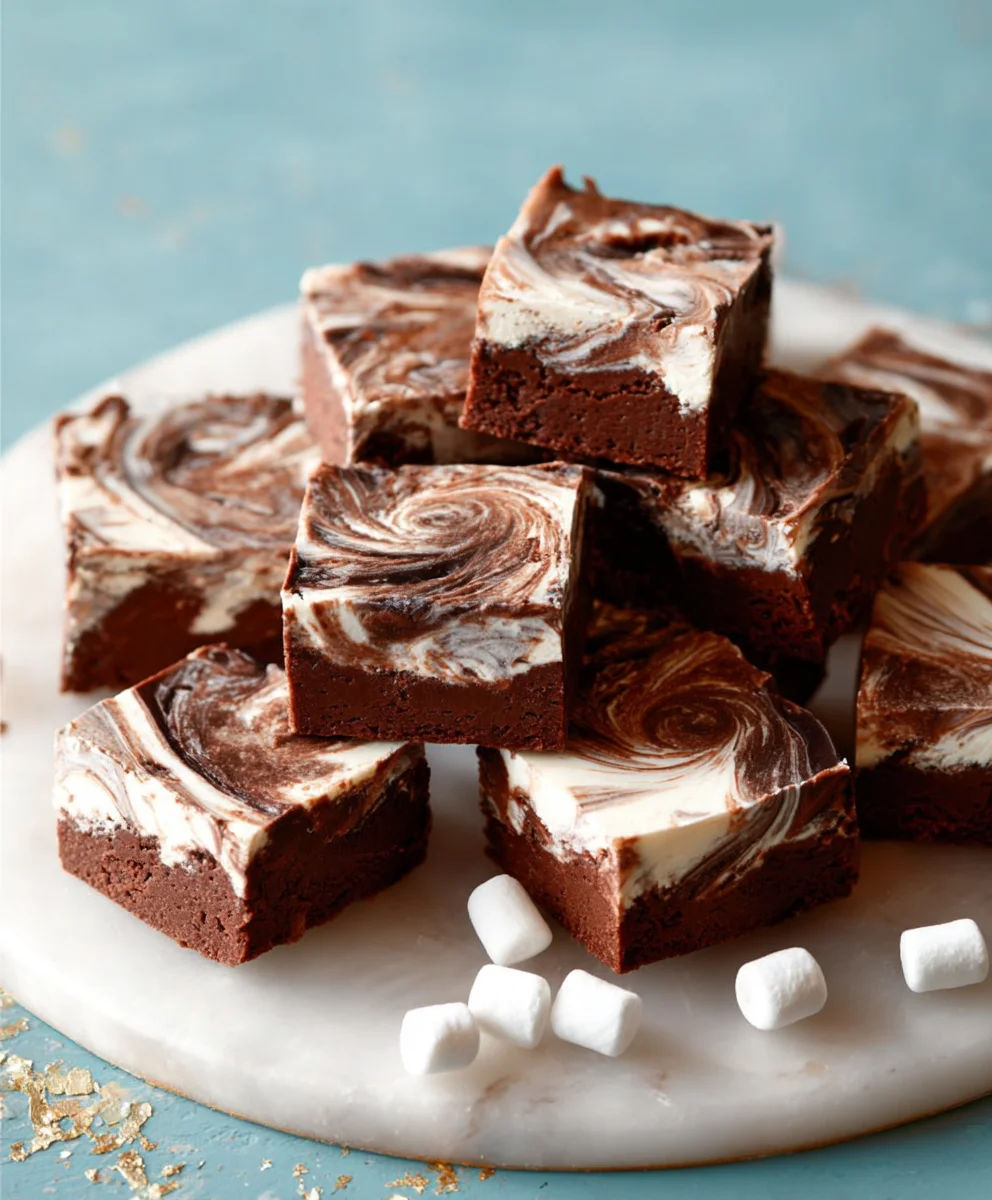
Creating the Swirl and Setting
Pour the fudge mixture into your prepared baking pan. Use your spatula to spread it evenly into the corners. Don’t worry if it looks a little uneven; that’s part of the charm of homemade fudge. For a more pronounced swirl effect, you can take a knife or a skewer and gently drag it through the fudge mixture a few times. This will help to marble the melted marshmallows and chocolate chips throughout. Be careful not to overwork it, as this can make the swirls disappear. Once you have achieved your desired swirl pattern, let the fudge sit undisturbed at room temperature for at least 2-4 hours, or until it is firm to the touch and completely set. Avoid the temptation to refrigerate it, as this can sometimes lead to a less desirable texture. Once it’s fully set, use the parchment paper overhangs to lift the entire slab of fudge out of the pan. Place it on a cutting board and use a sharp knife to cut it into squares. For the cleanest cuts, you might want to warm your knife slightly under hot water and wipe it dry between cuts. Store your delicious Marshmallow Swirl Fudge in an airtight container at room temperature.
Conclusion:
And there you have it – your guide to creating incredibly delicious Marshmallow Swirl Fudge! We’ve walked through each step, from melting the chocolate to achieving that perfect, marbled swirl. This rich, decadent fudge is more than just a sweet treat; it’s a testament to the joy of homemade confections. The satisfying crunch of the chocolate combined with the gooey marshmallow is truly irresistible. I encourage you to try this recipe and experience the magic for yourself. Don’t be afraid to get a little creative with it!
For serving suggestions, consider cutting your Marshmallow Swirl Fudge into bite-sized squares for easy sharing at parties or gatherings. It also makes a wonderful addition to holiday treat boxes or a thoughtful homemade gift for friends and family. You can also elevate it by serving a piece alongside a warm mug of hot chocolate or a cup of coffee.
Regarding variations, feel free to experiment with different types of chocolate – milk, dark, or even white chocolate can all yield fantastic results. You could also add a pinch of sea salt to the mixture for a delightful sweet and salty contrast, or even stir in a teaspoon of peppermint extract for a festive twist. The possibilities for customizing your Marshmallow Swirl Fudge are endless!
Frequently Asked Questions:
How do I get the perfect swirl effect in my Marshmallow Swirl Fudge?
The key to a beautiful swirl is to work relatively quickly once you’ve added the marshmallow cream. Drizzle the marshmallow cream over the chocolate mixture and use a skewer or toothpick to gently swirl it through. Avoid over-mixing, as this can cause the colors to blend too much and lose their distinctiveness.
Can I make Marshmallow Swirl Fudge ahead of time?
Absolutely! Marshmallow Swirl Fudge stores wonderfully. Once it’s completely set and cut, store it in an airtight container at room temperature for up to two weeks. For longer storage, you can refrigerate it, though it might become a bit firmer.
Marshmallow Swirl Fudge-Decadent Easy Recipe
A decadent and easy recipe for Marshmallow Swirl Fudge, featuring a creamy base swirled with gooey marshmallows and chocolate chips.
Ingredients
-
1 teaspoon vegetable oil
-
1 cup (2 sticks or 227g) unsalted butter
-
3 cups (600g) granulated sugar
-
1 cup (240ml) evaporated milk
-
1 teaspoon vanilla extract
-
1/2 teaspoon salt
-
1/4 cup (about 50g) mini marshmallows
-
1/4 cup (about 50g) miniature chocolate chips
-
1/4 cup (about 50g) chopped walnuts (optional)
Instructions
-
Step 1
Line an 8×8 inch (20×20 cm) baking pan with parchment paper, leaving an overhang on two opposite sides. Lightly grease the parchment paper with vegetable oil. Have all your ingredients measured out and within easy reach. -
Step 2
In a heavy-bottomed saucepan, combine unsalted butter, granulated sugar, and evaporated milk. Place over medium heat and stir constantly until the butter is melted and sugar has dissolved. Bring to a rolling boil, reduce heat slightly to maintain a steady boil, and cook for precisely 5 minutes, stirring continuously. -
Step 3
Remove the saucepan from the heat. Using a candy thermometer, cook the mixture, stirring occasionally, until it reaches the soft-ball stage (235°F to 245°F or 113°C to 118°C). Alternatively, perform the cold-water test: the syrup should form a soft, pliable ball. -
Step 4
Once the soft-ball stage is reached, immediately remove the pan from the heat. Stir in the vanilla extract and salt. Gently fold in the mini marshmallows and miniature chocolate chips, and optional chopped walnuts. Do not overmix. -
Step 5
Pour the fudge mixture into the prepared baking pan and spread evenly. For a more pronounced swirl, gently drag a knife or skewer through the mixture a few times. Let the fudge sit undisturbed at room temperature for at least 2-4 hours, or until firm and completely set. -
Step 6
Use the parchment paper overhangs to lift the fudge out of the pan. Place on a cutting board and cut into squares using a sharp knife. Store in an airtight container at room temperature.
Important Information
Nutrition Facts (Per Serving)
It is important to consider this information as approximate and not to use it as definitive health advice.
Allergy Information
Please check ingredients for potential allergens and consult a health professional if in doubt.