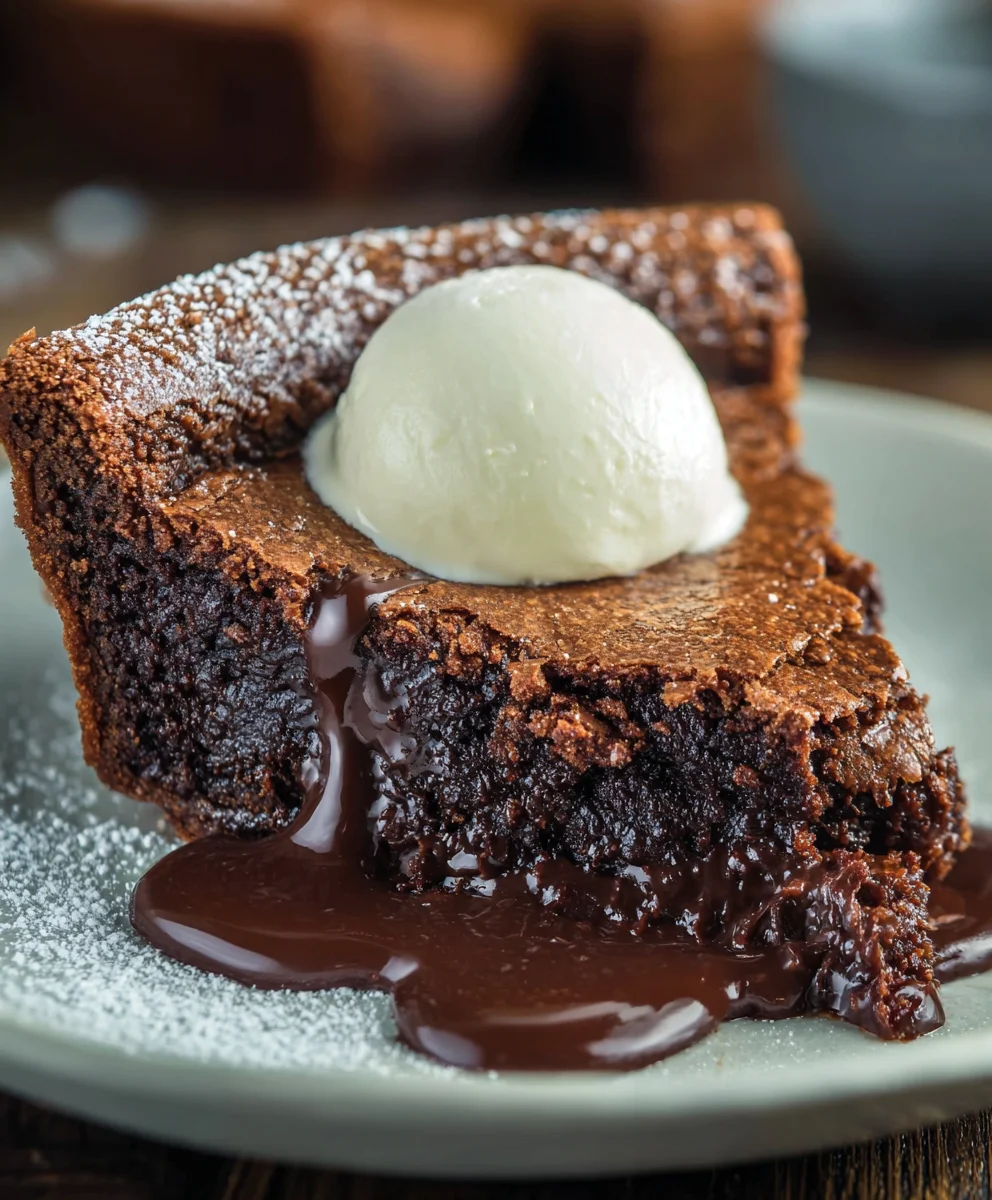
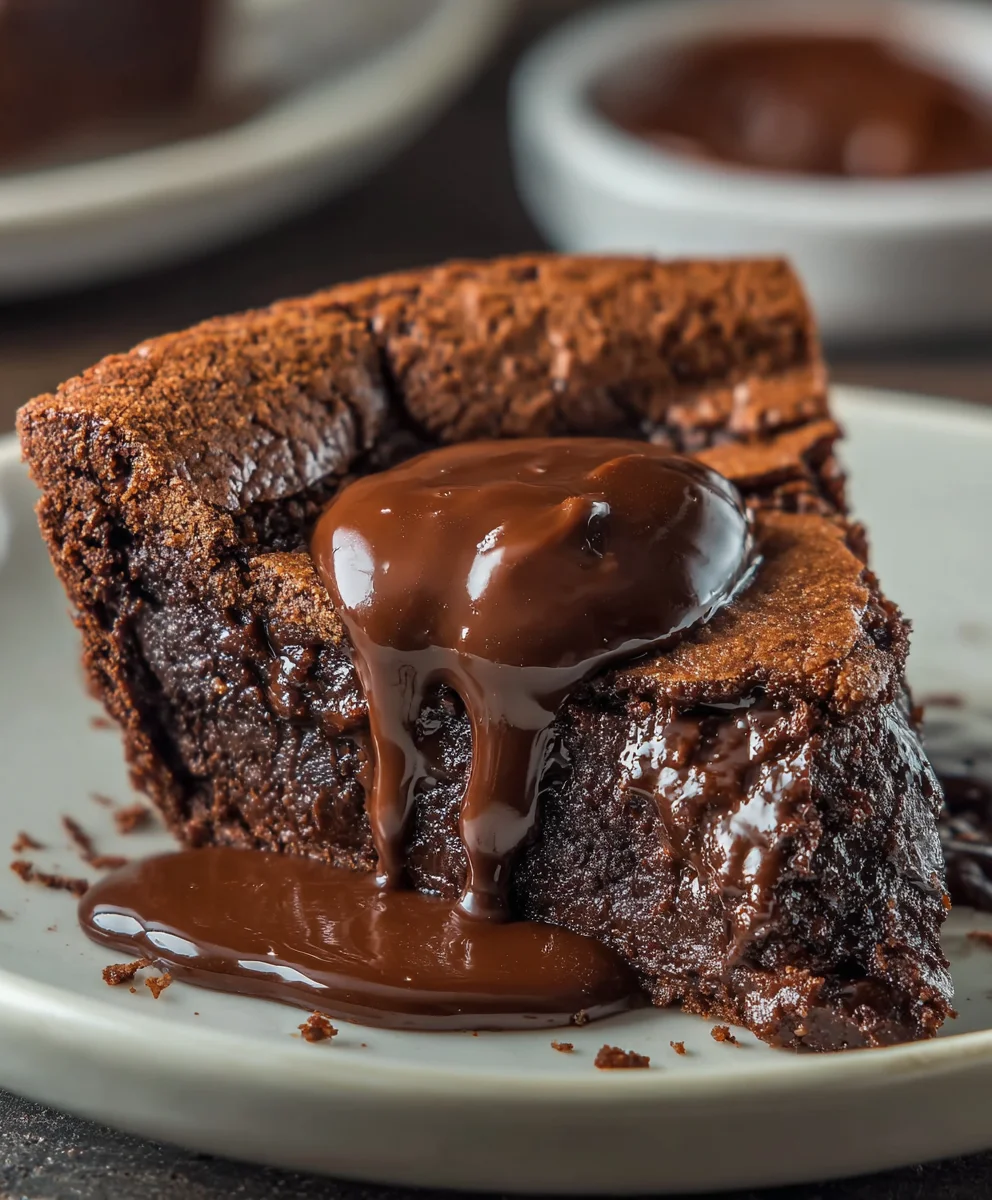
Gooey Brownie Pie-Pure Chocolate Bliss
Gooey Brownie Pie: Pure Chocolate Bliss in Every Slice. There are some desserts that just feel like a warm hug, and this Gooey Brownie Pie: Pure Chocolate Bliss in Every Slice certainly fits that description. It’s the kind of treat that makes you close your eyes with the first bite, savoring the decadent symphony of rich chocolate and comforting sweetness. We all have those craving moments, those times when only something intensely chocolatey will do, and this pie delivers in spades. What makes it so utterly irresistible? It’s that perfect balance: a delightfully fudgy, chewy brownie center nestled within a flaky pie crust, creating a textural contrast that is simply divine. Unlike a typical brownie, the pie format allows for an even more intense, molten core that melts in your mouth. Prepare to fall head over heels for this ultimate chocolate indulgence.
Ingredients:
- 1 cup (2 sticks) unsalted butter, melted
- 2 cups granulated sugar
- 1 cup unsweetened cocoa powder (Dutch-processed for a deeper flavor)
- 1 teaspoon salt
- 1 teaspoon baking powder
- 4 large eggs
- 1 teaspoon vanilla extract
- 1 ½ cups all-purpose flour
- 1 cup semi-sweet chocolate chips
- ½ cup chopped walnuts or pecans (optional, for added crunch)
- Whipped cream or vanilla ice cream, for serving (optional)
Preheating and Pan Preparation
Getting Started: The Foundation of a Perfect Pie
Before we dive into the decadent world of chocolate, it’s crucial to set ourselves up for success. Preheat your oven to 350°F (175°C). This consistent, moderate heat is key to ensuring our Gooey Brownie Pie bakes evenly and develops that signature fudgy texture. While the oven heats, prepare your pie plate. I recommend using a standard 9-inch pie plate. To prevent any sticking and ensure easy removal of this glorious creation, generously grease the pie plate with butter or cooking spray. For an extra layer of insurance and a beautifully finished edge, you can lightly dust the greased plate with a little all-purpose flour or cocoa powder, tapping out any excess. This simple step prevents heartbreak later when you’re trying to lift that perfect slice.
Mixing the Dry Ingredients
Building the Brownie Base: A Symphony of Dry Elements
In a large mixing bowl, we’ll begin extract by combining our dry ingredients. This is where the structure of our brownie pie starts to take shape. First, add the granulated sugar, followed by the unsweetened cocoa powder. The cocoa powder is the star here, so using a good quality one, like Dutch-processed, will really elevate the chocolate flavor profile, giving us that pure chocolate bliss. Next, sprinkle in the salt. The salt plays a vital role in balancing the sweetness and enhancing the overall chocolate flavor, making it more pronounced and complex. Finally, add the baking powder. Baking powder acts as our leavening agent, providing just enough lift to give the brownie pie a delicate, chewy texture without making it cakey. Whisk these ingredients together thoroughly until they are well combined and there are no visible streaks of cocoa powder. This ensures that the leavening and salt are evenly distributed, which is essential for consistent baking.
Incorporating the Wet Ingredients
Uniting the Elements: Creating the Luscious Brownie Batter
Now it’s time to introduce the wet ingredients to our dry foundation. In a separate medium bowl, lightly whisk the four large eggs. Adding them one at a time to the dry mixture and beating well after each addition will help create a smoother, more homogeneous batter. Next, pour in the teaspoon of vanilla extract. Vanilla is a wonderful flavor enhancer, particularly for chocolate, and it adds a subtle warmth and depth to the overall taste. Now, gradually add the melted unsalted butter to the egg and sugar mixture while continuously whisking. The butter is what will give our brownie pie its incredible richness and moisture. Using unsalted butter allows us to precisely control the salt content, ensuring the perfect balance of flavors. Continue whisking until the mixture is smooth and glossy. At this stage, you’ll start to segin extracthe beginnings of that irresistible brownie batter.
Combining Wet and Dry: The Final Batter Creatigin extract/h3>
Bringing it All Together: The Birth of Gooey Perfection
With our wet and dry components prepared, it’s time to unite them to form the ultimate brownie batter. Gradually add the dry ingredients to the wet ingredients. It’s best to do this in a few additions, mixing gently after each addition until just combined. Overmixing at this stage can develop the gluten in the flour too much, potentially leading to a tougher brownie pie. We want that wonderfully tender, gooey texture, so a light hand is key. Once the flour is mostly incorporated, gently fold in the cup of semi-sweet chocolate chips. These little pockets of melted chocolate will be divine little surprises in every bite, contributing to that pure chocolate bliss. If you’re using nuts, now is also the time to gently fold them in. This adds a delightful textural contrast to the smooth brownie. Ensure everything is just combined, and stop mixing as soon as you no longer see streaks of dry flour. The batter should be thick and fudgy.
Baking and Cooling
The Grand Finnon-alcoholic ale: Baking to Gooey Excellence
Carefully pour the thick, luscious brownie batter into your prepared pie plate. Spread it evenly with a spatula, making sure the surface is relatively smooth. Place the pie plate on the center rack of your preheated oven. gin extract, the patient wait begins! Bake for 30 to 35 minutes, or until the edges are set and a toothpick inserted into the center comes out with moist crum extractbs attached, but not wet batter. We’re aiming for that perfect “gooey” center, so don’t overbake it. Overbaking will result in a drier, more cake-like brownie, which is not what we want for this particular indulgence. Once baked, carefully remove the pie from the oven and let it cool on a wire rack for at least 15 to 20 minutes. This cooling period is essential for the brownie pie to firm up slightly and for those wonderful flavors to meld. It also prevents it from falling apart when you slice it. For the ultimate experience, serve warm with a dollop of whipped cream or a scoop of vanilla ice cream. The contrast of the warm, gooey brownie pie with the cool, creamy toppings is pure chocolate bliss in every slice.
Conclusion:
There you have it – the ultimate guide to creating your very own Gooey Brownie Pie: Pure Chocolate Bliss in Every Slice! We’ve walked through each step to ensure you achieve that perfect fudgy texture and rich chocolate flavor that makes this dessert so irresistible. This pie is more than just a treat; it’s an experience, a moment of pure indulgence that’s surprisingly simple to achieve.
Serving this masterpiece is an event in itself. A warm slice of Gooey Brownie Pie: Pure Chocolate Bliss in Every Slice is divine on its own, but why stop there? Consider topping it with a scoop of premium vanilla bean ice cream for a classic contrast, or a dollop of freshly whipped cream and a scattering of chocolate shavings for extra decadence. A drizzle of raspberry coulis can add a delightful tartness that cuts through the richness beautifully. Don’t be afraid to get creative!
Looking to switch things up? Try adding a handful of chocolate chips or chopped nuts (like walnuts or pecans) directly into the batter for added texture and flavor. A swirl of peanut butter or caramel sauce on top before baking can elevate your pie to a whole new level. For a bit of caffeine kick, a teaspoon of instant espresso powder in the batter is a game-changer.
We genuinely hope you enjoy baking and savoring every single bite of your Gooey Brownie Pie: Pure Chocolate Bliss in Every Slice. It’s a recipe designed to impress, whether you’re a seasoned baker or just starting out. So, gather your ingredients, put on some music, and let the chocolate magic unfold in your kitchen!
Frequently Asked Questions:
Can I make this pie ahead of time?
Absolutely! The Gooey Brownie Pie: Pure Chocolate Bliss in Every Slice can be baked a day in advance and stored at room temperature, covered loosely. For serving, you can gently warm it in a low oven for a few minutes to revive its gooey texture.
What’s the best way to tell if the pie is done baking?
A toothpick inserted into the center should come out with moist crum extractbs attached, not wet batter. The edges should look set and slightly pulled away from the sides of the pie plate. Remember, this is meant to be gooey, so avoid overbaking!
Can I use a different type of chocolate?
Yes, you can experiment with different chocolates! While semi-sweet is recommended for a balanced flavor, you can use bittersweet for a more intense chocolate experience or even milk chocolate for a sweeter, milder taste. Just ensure the quality is good for the best results in your Gooey Brownie Pie: Pure Chocolate Bliss in Every Slice.
Gooey Brownie Pie-Pure Chocolate Bliss
A rich and decadent gooey brownie pie for pure chocolate bliss.
Ingredients
-
1 cup (2 sticks) unsalted butter, melted. Adds richness and moisture; unsalted allows precise control over salt.
-
2 cups granulated sugar
-
1 cup unsweetened cocoa powder
-
1 teaspoon salt
-
1 teaspoon baking powder
-
4 large eggs
-
1 teaspoon vanilla extract
-
1 ½ cups all-purpose flour
-
1 cup semi-sweet chocolate chips
-
½ cup chopped walnuts or pecans (optional)
-
Whipped cream or vanilla ice cream, for serving (optional)
Instructions
-
Step 1
Preheat oven to 350°F (175°C). Generously grease and lightly flour or dust a 9-inch pie plate. -
Step 2
In a large bowl, whisk together granulated sugar, cocoa powder, salt, and baking powder until well combined. -
Step 3
In a separate bowl, whisk eggs and vanilla extract. Gradually whisk in melted butter until smooth and glossy. -
Step 4
Gradually add dry ingredients to wet ingredients, mixing gently until just combined. Fold in chocolate chips and nuts (if using). Do not overmix. -
Step 5
Pour batter into the prepared pie plate and spread evenly. Bake for 30-35 minutes, or until edges are set and a toothpick inserted into the center comes out with moist crumbs attached. -
Step 6
Let cool on a wire rack for at least 15-20 minutes before slicing. Serve warm with whipped cream or vanilla ice cream, if desired.
Important Information
Nutrition Facts (Per Serving)
It is important to consider this information as approximate and not to use it as definitive health advice.
Allergy Information
Please check ingredients for potential allergens and consult a health professional if in doubt.