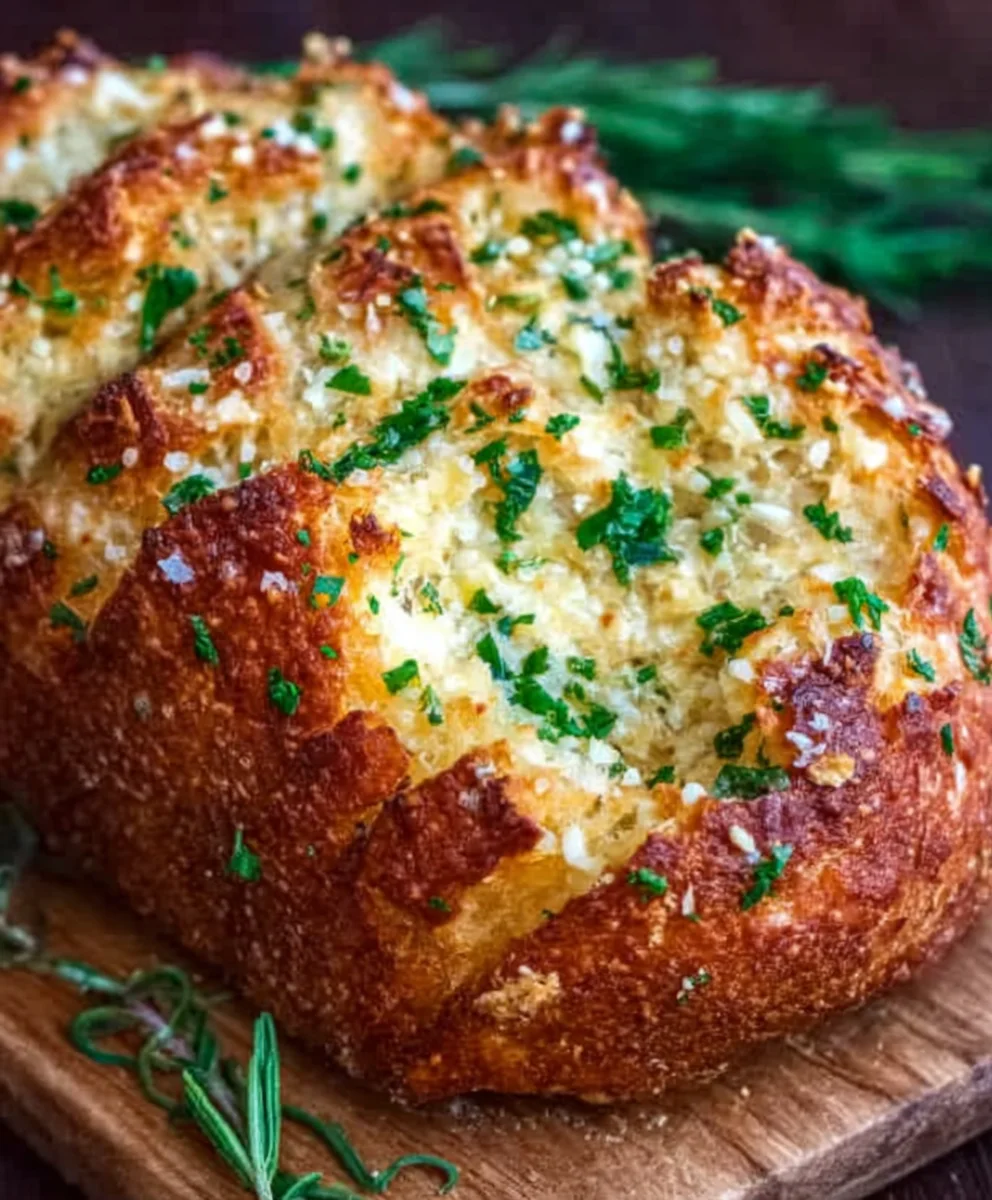
Easy Artisan Parmesan Garlic Bread Recipe
Perfect Parmesan Garlic Bread Recipe Easy Artisan Style is more than just a side dish; it’s a gateway to pure culinary bliss. Imagin extracte sinking your teeth into a warm, crusty slice, the aroma of toasted garlic and savory Parmesan wafting through the air. That’s the magic this recipe unlocks, transforming simple ingredients into something truly extraordinary. It’s no wonder this universally loved comfort food holds a special place in so many hearts and on so many tables. What elevates this particular Perfect Parmesan Garlic Bread Recipe Easy Artisan Style above the rest? It’s the meticulous balance of flavors, the satisfying crunch of a perfectly baked exterior, and the unbelievably tender, pillowy interior. We’ve stripped away any intimidation, making it surprisingly easy to achieve that coveted artisan look and taste right in your own kitchen. Get ready to impress yourself and everyone you share it with!
Ingredients:
- 3 1/4 cups (390g) all-purpose flour, plus more for dusting
- 2 teaspoons (10g) salt
- 1 teaspoon (5g) granulated sugar
- 2 teaspoons (7g) active dry yeast
- 1 1/2 cups (360ml) warm water (around 110°F/43°C)
- 2 tablespoons (30ml) olive oil, plus more for greasing
- 1 cup (100g) freshly grated Parmesan cheese
- 2–3 cloves of minced garlic
- 1 tablespoon (15g) chopped fresh rosemary or parsley (optional)
Making the Dough
Step 1: Activate the Yeast and Mix Dry Ingredients
Begin extract by ensuring your water is at the perfect warm temperature. It should feel like a comfortable bath – not too hot, not too cold. In a large mixing bowl, gently sprinkle the active dry yeast over the warm water. Add the granulated sugar, which acts as food for the yeast, helping it to bloom. Let this mixture sit undisturbed for about 5 to 10 minutes. You’ll know the yeast is active and ready when it becomes foamy and bubbly on the surface. If you don’t see this, your yeast might be expired, and you’ll need to start with new yeast. While the yeast is blooming, in a separate medium bowl, whisk together the all-purpose flour and salt. This ensures the salt is evenly distributed throughout the flour, preventing it from hindering the yeast’s activity.
Step 2: Combine Wet and Dry Ingredients
Once your yeast mixture is foamy, pour it into the bowl with the flour and salt mixture. Add the 2 tablespoons of olive oil to the bowl as well. This oil will contribute to the dough’s tenderness and flavor. Now, using a sturdy spoon or a dough wgin extractk, begin to mix everything together until a shaggy dough forms. It will look a bit rough and sticky at this stage, and that’s perfectly normal. Don’t be tempted to add too much extra flour just yet, as the dough will become less sticky as you knead it.
Kneading and First Rise
Step 3: Knead the Dough to Develop Gluten
Turn the shaggy dough out onto a lightly floured surface. Now comes the satisfying part – kneading! This process develops the gluten in the flour, which gives the bread its structure and chew. Fold the dough over on itself, press down with the heels of your hands, and push away. Rotate the dough slightly and repeat. Continue this for about 8 to 10 minutes. The dough will gradually become smoother, more elastic, and less sticky. You’ll know it’s ready when it springs back slowly when you gently poke it with your finger. If it’s still too sticky to handle, add just a tiny bit more flour at a time, but be sparing. Once kneaded, shape the dough into a smooth ball.
Step 4: First Rise (Proofing) for Flavor and Texture
Lightly grease a clean large bowl with a little more olive oil. Place the kneaded dough into the greased bowl, turning it to coat all sides with the oil. Cover the bowl tightly with plastic wrap or a clean kitchen towel. Place the bowl in a warm, draft-free place to rise. This is where the magic happens – the yeast works its wonders, producing gases that make the dough expand. Let it rise for about 1 to 1.5 hours, or until it has doubled in size. This first rise is crucial for developing a deep flavor and airy texture in your final bread. The warmth helps speed up this process, so a slightly warm oven (turned off) or near a sunny window is ideal.
Shaping and Second Rise
Step 5: Incorporate Parmesan and Garlic, Shape the Loaf
Once the dough has doubled, gently punch it down to release the air. Turn the dough out onto a lightly floured surface once more. Now, it’s time to infuse our bread with that incredible Parmesan and garlic flavor. Sprinkle the freshly grated Parmesan cheese, minced garlic, and optional chopped fresh herbs (rosemary or parsley) evenly over the surface of the dough. Gently knead these ingredients into the dough for about 1 to 2 minutes, just until they are well distributed. You don’t want to over-knead at this point. Once incorporated, shape the dough into your desired loaf form. For a classic artisan look, you can shape it into a rustic round boule or a long baguette shape. Place the shaped loaf onto a baking sheet lined with parchment paper or a well-floured pizza peel.
Step 6: Second Rise and Preheating the Oven
Cover the shaped loaf loosely with plastic wrap or a clean kitchen towel. Let it rest and rise for another 30 to 45 minutes. During this second rise, preheat your oven to 400°F (200°C). If you have a baking stone or steel, place it in the oven while it preheats; this will help create a wonderfully crisp crust. This second, shorter rise allows the loaf to regain some of its airiness before baking, ensuring a light interior. A gentle touch is key during this stage so as not to deflate the dough completely.
Baking to Perfection
Step 7: Scoring and Baking the Bread
Just before baking, you can optionally score the top of the loaf. This is usually done with a sharp knife or a baker’s lame. Scoring allows the bread to expand more evenly in the oven and creates beautiful patterns. For a crispy crust, you can create a few shallow slashes across the top. Carefully transfer the loaf onto your preheated baking stone or directly onto the baking sheet. For an even crispier exterior, you can create steam in your oven. One way is to place a shallow oven-safe pan filled with water on the rack below your bread during the first 10-15 minutes of baking. Bake for 25 to 35 minutes, or until the crust is a deep golden brown and the internal temperature reaches around 200-210°F (93-99°C) when measured with an instant-read thermometer. The aroma will be absolutely divine!
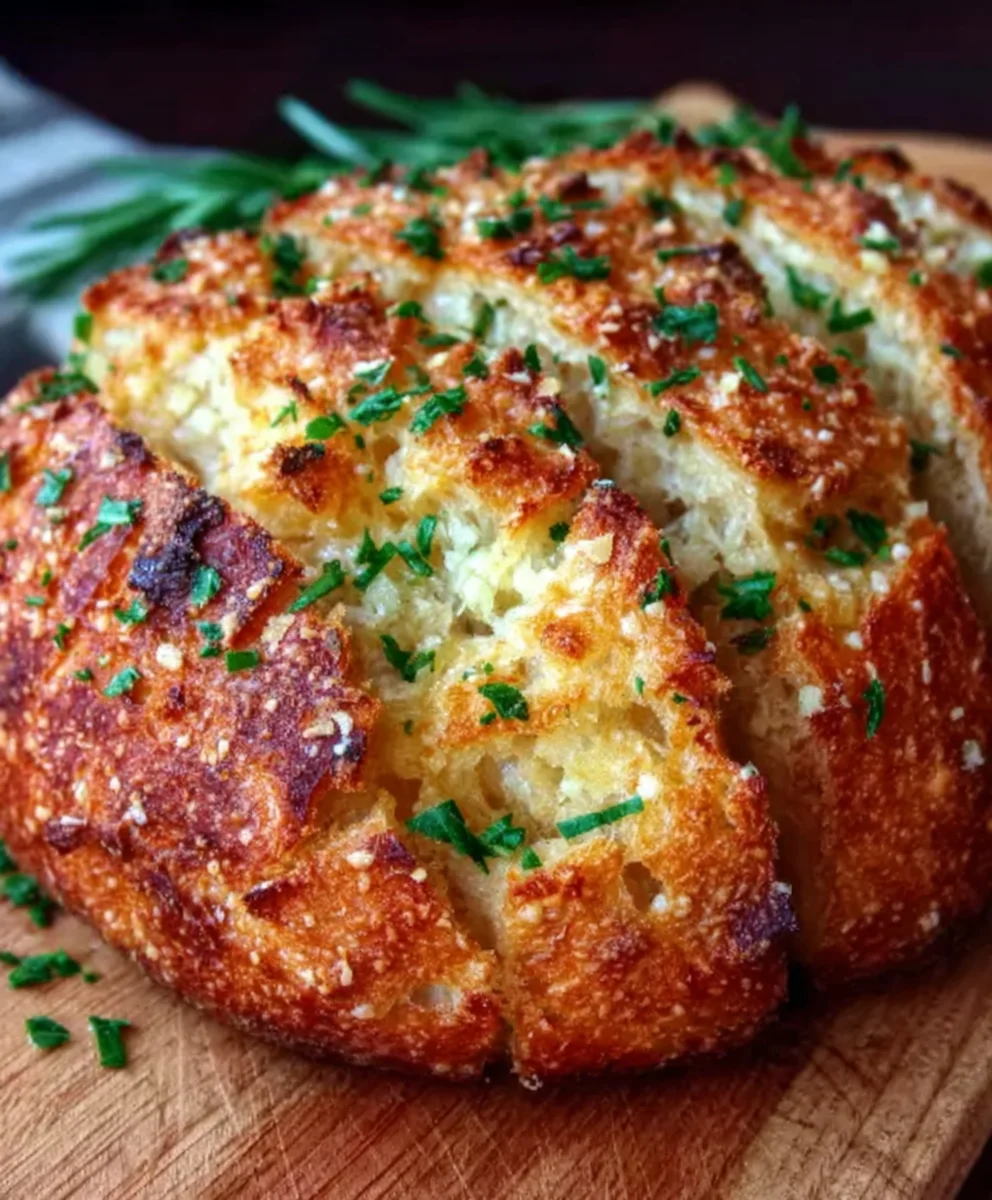
Step 8: Cooling and Enjoying Your Artisan Bread
Once baked to perfection, carefully remove the loaf from the oven and transfer it to a wire rack to cool completely. It’s tempting to slice into it immediately, but allowing it to cool is crucial. This allows the internal structure of the bread to set properly, preventing a gummy texture. As it cools, the crust will also continue to crisp up. Once it’s cooled to a temperature you can comfortably handle, slice it with a serrated knife and admire the beautiful crum extractb. This Perfect Parmesan Garlic Bread is fantastic served warm with butter, as a side to your favorite Italian dishes, or simply enjoyed on its own.
Conclusion:
And there you have it – the simple steps to creating your very own Perfect Parmesan Garlic Bread Recipe Easy Artisan Style! This recipe is designed to be approachable for bakers of all levels, delivering that irresistible, golden-brown crust and a fluffy, flavorful interior reminiscent of your favorite artisan bakery. Whether you’re serving it as a side dish to a hearty pasta, a delicious accompaniment to soup, or simply enjoying it on its own, this garlic bread is sure to impress. Don’t be afraid to experiment with the serving suggestions, and remember, baking is all about personal touch and enjoyment. So gather your ingredients, get your hands a little floury, and bake up a batch of pure comfort!
Frequently Asked Questions:
Can I make this Perfect Parmesan Garlic Bread Recipe Easy Artisan Style ahead of time?
Yes! You can prepare the dough up to the second rise and refrigerate it overnight. In the morning, let it come to room temperature for about an hour before shaping and baking. You can also bake the bread completely and then reheat it in a moderate oven for a few minutes before serving.
What other herbs can I add to my Perfect Parmesan Garlic Bread Recipe Easy Artisan Style?
Absolutely! Feel free to mix in other dried or fresh herbs along with the parsley. Options like dried oregano, thyme, or a pinch of rosemary work wonderfully. For a little kick, a tiny pinch of red pepper flakes can also be a delicious addition.
Easy Artisan Parmesan Garlic Bread Recipe
A simple recipe for delicious, homemade artisan bread infused with Parmesan cheese and garlic.
Ingredients
-
3 1/4 cups (390g) all-purpose flour, plus more for dusting
-
2 teaspoons (10g) salt
-
1 teaspoon (5g) granulated sugar
-
2 teaspoons (7g) active dry yeast
-
1 1/2 cups (360ml) warm water (around 110°F/43°C)
-
2 tablespoons (30ml) olive oil, plus more for greasing
-
1 cup (100g) freshly grated Parmesan cheese
-
2–3 cloves of minced garlic
-
1 tablespoon (15g) chopped fresh rosemary or parsley (optional)
Instructions
-
Step 1
Activate the yeast: Sprinkle yeast and sugar over warm water in a large bowl. Let sit for 5-10 minutes until foamy. Whisk flour and salt in a separate bowl. -
Step 2
Combine ingredients: Pour the foamy yeast mixture and olive oil into the flour mixture. Mix with a spoon until a shaggy dough forms. -
Step 3
Knead the dough: Turn the dough onto a floured surface and knead for 8-10 minutes until smooth and elastic. Shape into a ball. -
Step 4
First rise: Place the dough in a greased bowl, cover, and let rise in a warm place for 1-1.5 hours, or until doubled in size. -
Step 5
Incorporate flavors and shape: Punch down dough, sprinkle with Parmesan, garlic, and herbs. Knead gently for 1-2 minutes until incorporated. Shape into desired loaf. -
Step 6
Second rise and preheat: Cover the shaped loaf and let rise for 30-45 minutes. Preheat oven to 400°F (200°C). If using, place baking stone or steel in the oven. -
Step 7
Bake: Score the top of the loaf (optional). Transfer to the oven and bake for 25-35 minutes, or until deep golden brown and internal temperature reaches 200-210°F (93-99°C). Consider adding steam to the oven for a crispier crust. -
Step 8
Cool and serve: Remove from oven and cool completely on a wire rack before slicing and enjoying.
Important Information
Nutrition Facts (Per Serving)
It is important to consider this information as approximate and not to use it as definitive health advice.
Allergy Information
Please check ingredients for potential allergens and consult a health professional if in doubt.