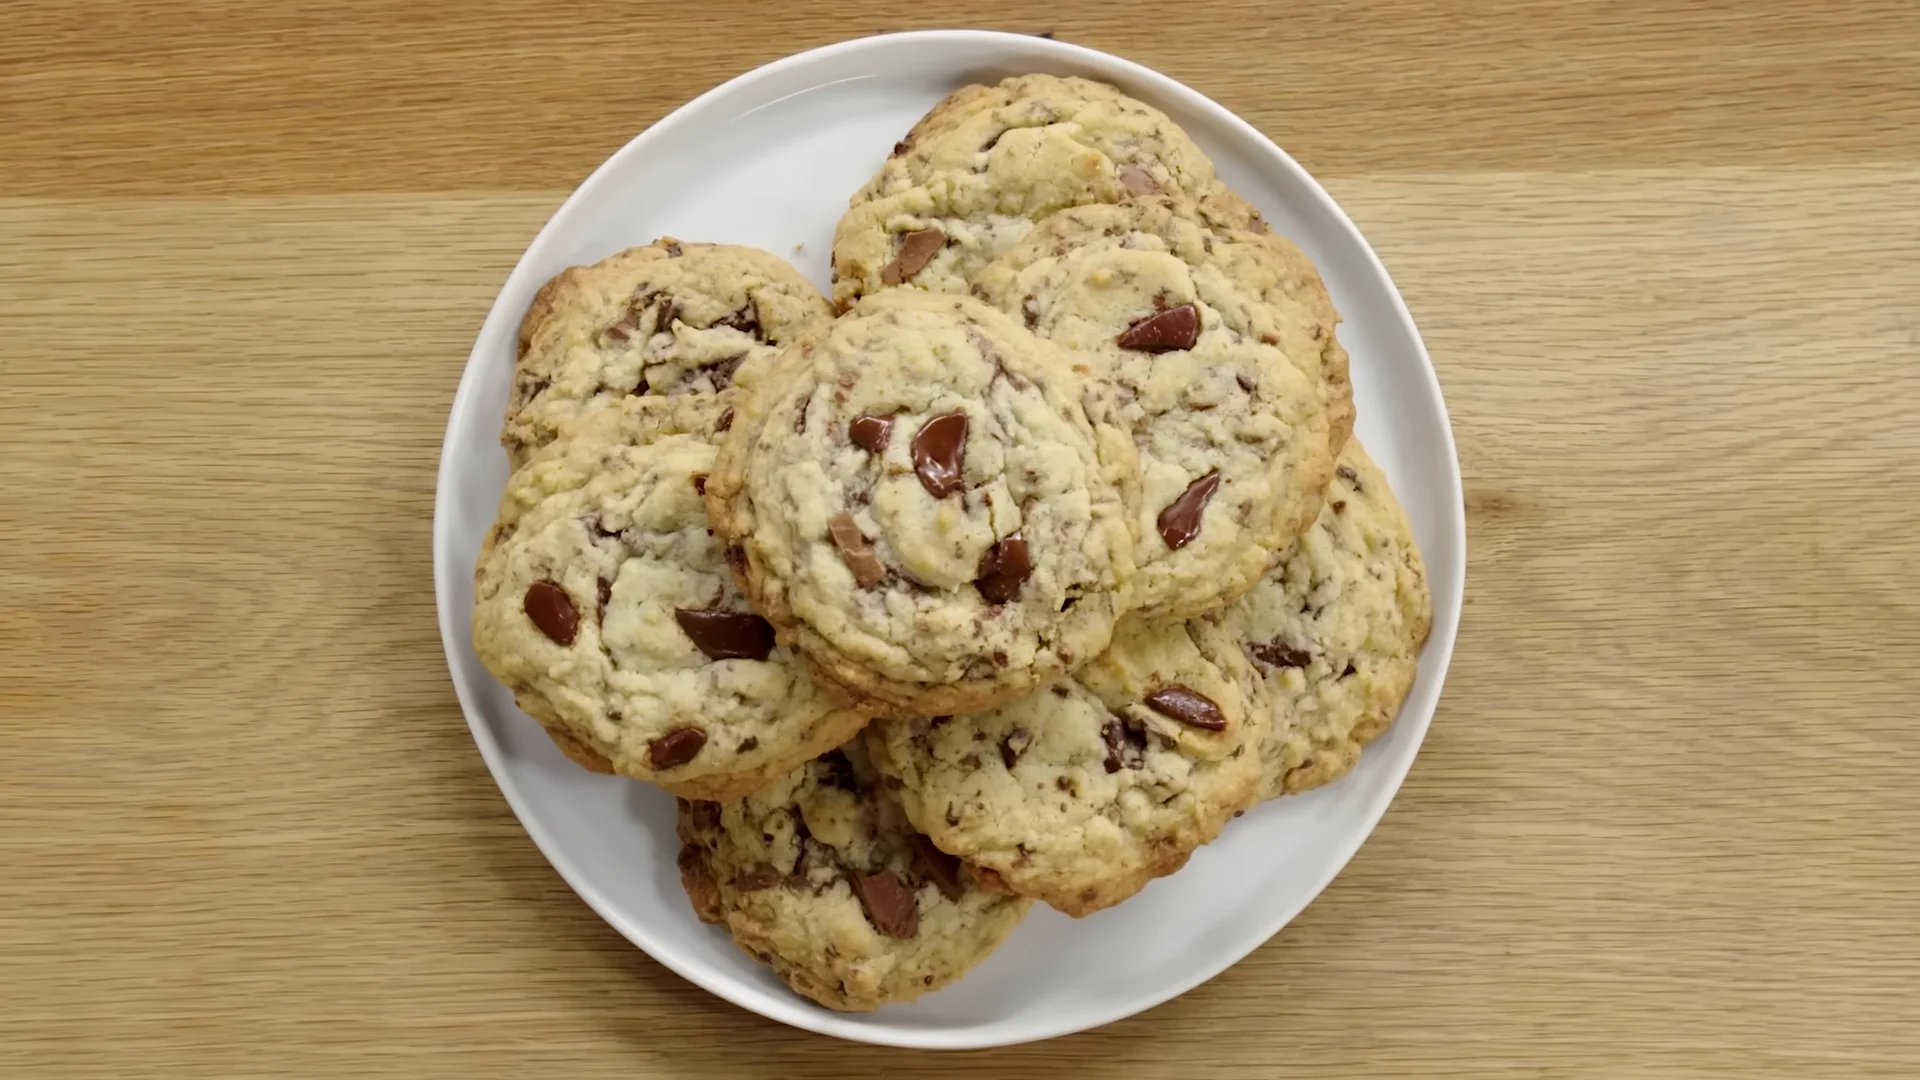
Bakery Style Chocolate Chip Cookies-Chewy & Delicious
Bakery Style Chocolate Chip Cookies are more than just a treat; they’re a nostalgic journey back to simpler times, a warm hug on a chilly day, and the ultimate crowd-pleaser. There’s something undeniably magical about biting into a cookie that perfectly balances a slightly crisp exterior with a wonderfully soft, chewy center, all bursting with pools of melted chocolate. We all have our cherished cookie memories, and achieving that quintessential bakery-quality texture and flavor at home can feel like a delightful challenge. But fear not! This recipe is meticulously crafted to deliver precisely that experience. What truly sets these Bakery Style Chocolate Chip Cookies apart is the careful attention to ingredient ratios and baking technique, ensuring each bite is an absolute symphony of buttery goodness and rich chocolate. Get ready to transform your kitchen into your very own artisanal bakery!
Ingredients:
- 1 cup (2 sticks) unsalted butter, softened
- 3/4 cup granulated sugar
- 3/4 cup packed light brown sugar
- 2 large eggs
- 1 teaspoon vanilla extract
- 2 1/4 cups all-purpose flour
- 1 teaspoon baking soda
- 1/2 teaspoon salt
- 2 cups chocolate chips (milk, semi-sweet, or a mix)
Getting Started with Your Bakery Style Chocolate Chip Cookies
The secret to truly exceptional bakery-style chocolate chip cookies lies in achieving that perfect balance of chewy centers and slightly crisp edges, all while boasting a rich, buttery flavor. We’ll start by creaming together our butter and sugars, a crucial step that incorporates air into the dough, leading to a lighter and more tender cookie.
Step 1: Creaming the Butter and Sugars
In a large mixing bowl, combine the 1 cup (2 sticks) of softened unsalted butter with the 3/4 cup granulated sugar and 3/4 cup packed light brown sugar. Using an electric mixer (either a stand mixer with a paddle attachment or a hand mixer), beat these ingredients together on medium speed until the mixture is light and fluffy. This process, known as creaming, can take anywhere from 3 to 5 minutes. You’ll know it’s ready when the color lightens considerably and the texture is airy, almost like a pnon-alcoholic ale yellow frosting. Don’t rush this step; it’s foundational for the final cookie texture and appearance. Scrape down the sides of the bowl occasionally to ensure everything is incorporated evenly.
Step 2: Incorporating the Wet Ingredients
Once your butter and sugar mixture is perfectly creamed, it’s time to add the eggs and vanilla extract. Add the 2 large eggs, one at a time, beating well after each addition to fully incorporate them into the butter-sugar mixture. After the eggs are mixed in, stir in the 1 teaspoon of vanilla extract. Vanilla is key for adding that classic depth of flavor that makes these cookies so irresistible. Continue to mix until everything is just combined. Overmixing at this stage can develop the gluten in the flour too much later on, potentially leading to tough cookies.
Step 3: Combining the Dry Ingredients
In a separate medium bowl, whisk together the 2 1/4 cups all-purpose flour, 1 teaspoon baking soda, and 1/2 teaspoon salt. Whisking the dry ingredients together ensures that the leavening agent (baking soda) and salt are evenly distributed throughout the flour. This prevents pockets of saltiness or areas that don’t rise properly in your final cookies. Make sure there are no clumps of baking soda or salt.
Step 4: Bringin extractg it All Together
Now, gradually add the dry ingredients to the wet ingredigin extracts. Begin by adding about half of the flour mixture to the butter mixture. Mix on low speed until just combined. Then, add the remaining flour mixture and continue mixing on low speed until no dry streaks of flour remain. Be careful not to overmix! As soon as the flour is incorporated, stop mixing. It’s perfectly fine if the dough looks a little shaggy at this point; the chocolate chips will help bring it together. Overmixing the flour will develop the gluten and can result in tough, dense cookies, which is the opposite of what we’re aiming for with bakery-style treats.
Step 5: Folding in the Chocolate Chips and Chilling the Dough
Gently fold in the 2 cups of chocolate chips using a spatula or wooden spoon. You can use milk chocolate, semi-sweet, dark chocolate, or a combination – whatever your preference! Ensure the chips are evenly distributed throughout the dough. For the best texture and to prevent the cookies from spreading too much in the oven, it’s highly recommended to chill the dough. Cover the bowl tightly with plastic wrap and refrigerate for at least 30 minutes, or up to 2-3 days. Chilling solidifies the fat in the butter, which helps the cookies hold their shape and bake with a more desirable texture.
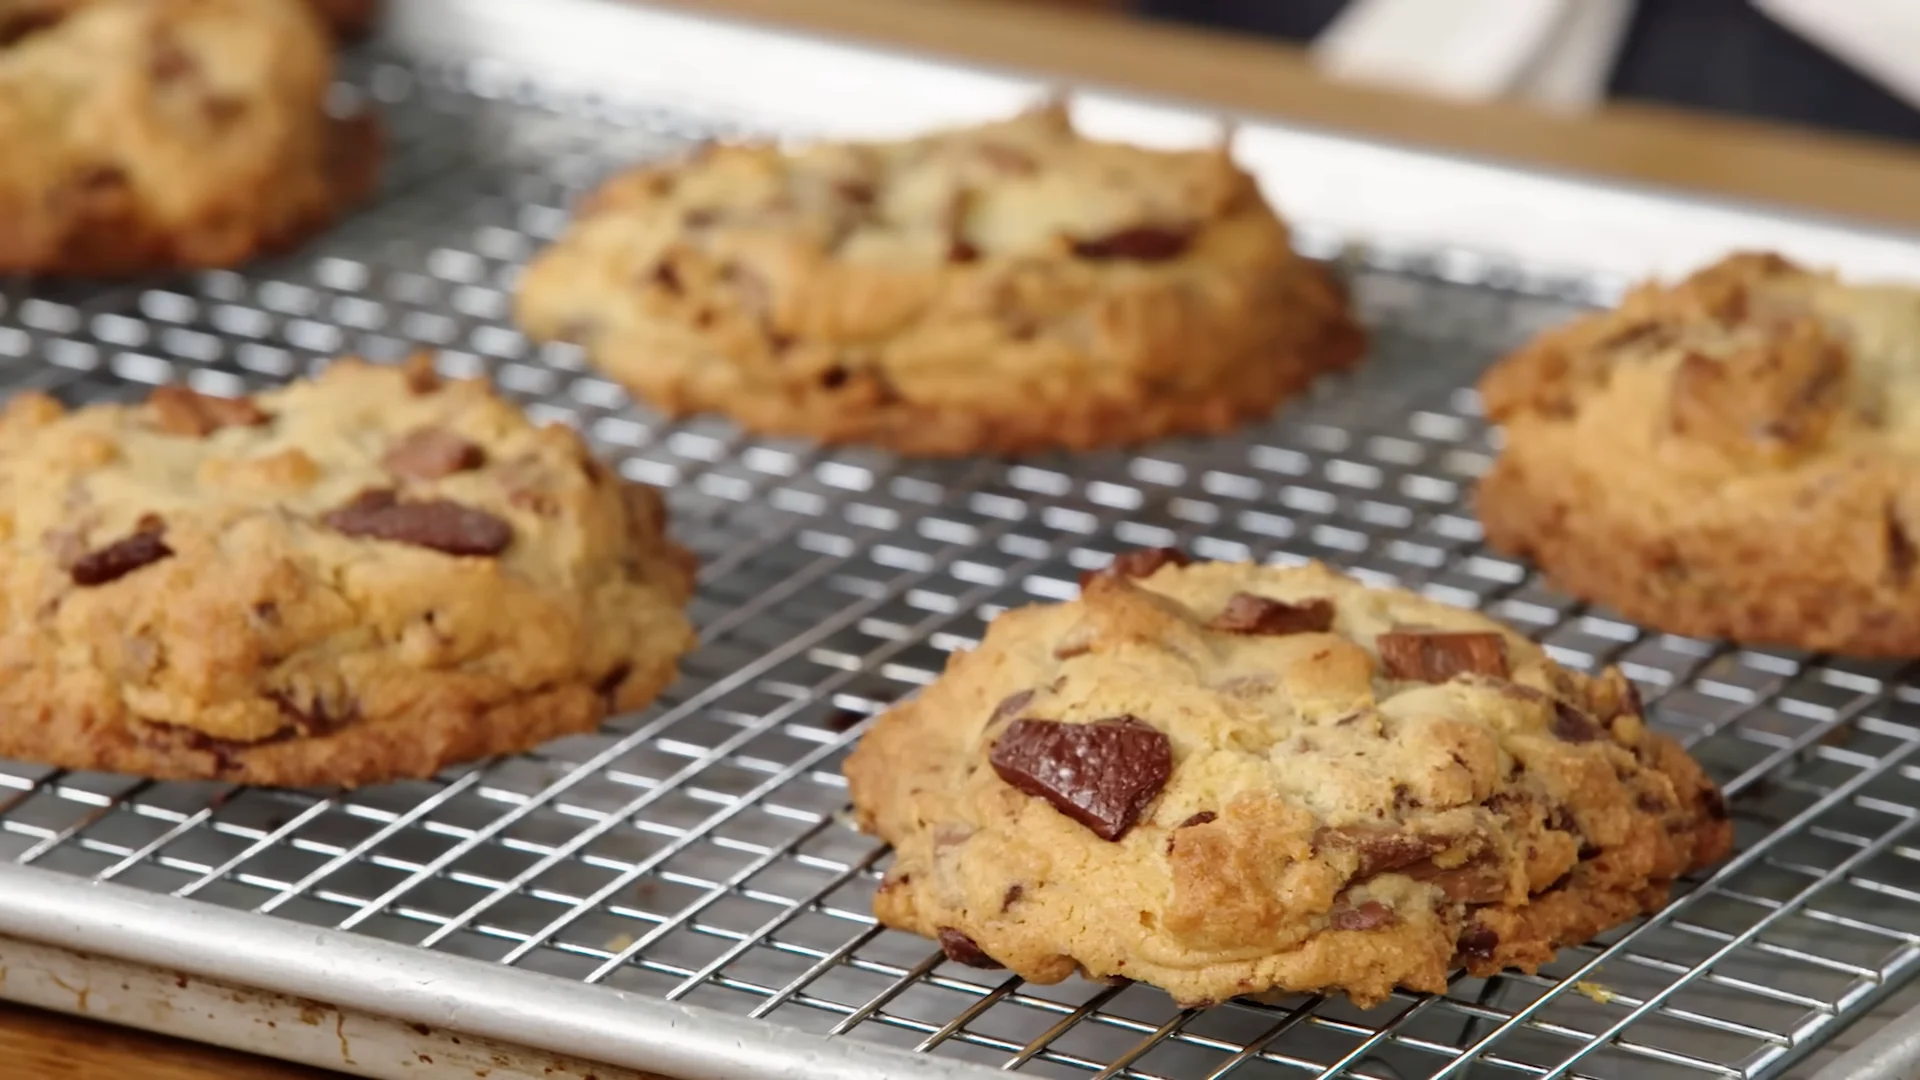
Step 6: Baking Your Perfect Cookies
Preheat your oven to 375°F (190°C). Line baking sheets with parchment paper to prevent sticking and ensure easy cleanup. Scoop rounded tablespoons of the chilled dough onto the prepared baking sheets, leaving about 2 inches between each cookie to allow for spreading. For larger, more bakery-like cookies, use a cookie scoop. Bake for 9 to 12 minutes, or until the edges are golden brown and the centers are still slightly soft and appear slightly underbaked. They will continue to set up as they cool on the baking sheet. Don’t overbake them if you want that signature chewy center.
Step 7: Cooling and Enjoying
Allow the cookies to cool on the baking sheets for 5 minutes before transferring them to a wire rack to cool completely. This resting period on the hot baking sheet is crucial for the cookies to firm up properly. Once cooled, your bakery-style chocolate chip cookies are ready to be devoured. They are best enjoyed at room temperature, perhaps with a glass of cold milk. Store any leftovers in an airtight container at room temperature for up to 3 days.
Conclusion:
You’ve now got the blueprint to create your own batch of irresistible Bakery Style Chocolate Chip Cookies! We’ve walked through each step, from creaming the butter and sugars to achieving that perfect golden-brown exterior and chewy, decadent interior. These cookies are truly a crowd-pleaser, embodying that classic comfort food appeal that brings smiles to faces. Don’t be afraid to get creative with serving; they are phenomenal warm with a glass of milk, as a base for ice cream sandwiches, or crum extractbled over yogurt for a sweet breakfast treat.
Remember, the beauty of baking is in personalization. Feel free to experiment with different types of chocolate chips (dark, milk, white, or a blend!), add a pinch of sea salt on top before baking for an extra flavor dimension, or even incorporate chopped nuts for added texture. The most important ingredient, however, is your enthusiasm! So, roll up your sleeves, embrace the process, and enjoy the delightful aroma that will fill your kitchen as these Bakery Style Chocolate Chip Cookies bake to perfection. Happy baking!
Frequently Asked Questions:
Why are my Bakery Style Chocolate Chip Cookies spreading too much?
Cookie spread can be influenced by several factors. Ensure your butter isn’t too soft or melted when creaming it with the sugar. Also, chilling the dough for at least 30 minutes before baking can significantly help prevent excessive spreading, as it solidifies the fats.
How can I get that bakery-style chewy texture?
The key to a chewy Bakery Style Chocolate Chip Cookie often lies in the balance of ingredients and baking time. Using a higher ratio of brown sugar to granulated sugar contributes to chegrape juicess. Additionally, avoid overbaking; pulling the cookies out when the edges are set but the centers still look slightly underdone will result in a perfectly chewy center after they cool.
Bakery Style Chocolate Chip Cookies
Achieve the perfect balance of chewy centers and slightly crisp edges with this delicious bakery-style chocolate chip cookie recipe.
Ingredients
-
1 cup (2 sticks) unsalted butter, softened
-
3/4 cup granulated sugar
-
3/4 cup packed light brown sugar
-
2 large eggs
-
1 teaspoon vanilla extract
-
2 1/4 cups all-purpose flour
-
1 teaspoon baking soda
-
1/2 teaspoon salt
-
2 cups chocolate chips (milk, semi-sweet, or a mix)
Instructions
-
Step 1
In a large mixing bowl, cream together the softened butter and both sugars until light and fluffy (3-5 minutes). Scrape down the sides of the bowl. -
Step 2
Add the eggs one at a time, beating well after each addition. Stir in the vanilla extract. Mix until just combined. -
Step 3
In a separate bowl, whisk together the flour, baking soda, and salt. -
Step 4
Gradually add the dry ingredients to the wet ingredients, mixing on low speed until just combined. Be careful not to overmix. -
Step 5
Gently fold in the chocolate chips. Cover the dough and refrigerate for at least 30 minutes. -
Step 6
Preheat oven to 375°F (190°C). Scoop rounded tablespoons of dough onto parchment-lined baking sheets, leaving 2 inches between cookies. Bake for 9-12 minutes until edges are golden brown and centers are slightly soft. -
Step 7
Let cookies cool on the baking sheets for 5 minutes before transferring to a wire rack to cool completely.
Important Information
Nutrition Facts (Per Serving)
It is important to consider this information as approximate and not to use it as definitive health advice.
Allergy Information
Please check ingredients for potential allergens and consult a health professional if in doubt.