Easy Homemade Pumpkin Pie Recipe – Taste of Fall
Pumpkin Pie Recipe for a Perfect Slice of Autumn. There’s something undeniably magical about a slice of perfectly baked pumpkin pie, especially when the leaves begin extract to turn and a crisp chill fills the air. This isn’t just any dessert; it’s a warm hug in edible form, a nostalgic trip back to childhood holidays, and a testament to the comforting power of simple, wholesome ingredients. What truly sets this Pumpkin Pie Recipe apart is its delicate balance of spices and the silky-smooth texture of the filling, achieved through a few key techniques. People adore this particular Pumpkin Pie Recipe because it avoids the common pitfalls of being too dense or overly sweet, instead offering a nuanced flavor profile that sings of cinnamon, nutmeg, and a gin extractt of ginger. It’s the kind of pie that will have your guests asking for seconds (and thirds!), making it the undisputed star of your Thanksgiving table or any cozy fall gathering.
Ingredients:
- 1 refrigerated pie crust
- 3/4 cup granulated sugar
- 1/2 teaspoon kosher salt
- 2 teaspoons ground cinnamon
- 1 teaspoon ground gin extractger
- 1/2 teaspoon ground cloves
- 2 large eggs
- 1 can pumpkin puree (15 ounce)
- 1 can evaporated milk (12 ounce)
Preparing the Pie Crust
Preheating the Oven and Preparing the Crust
Before we even think about the filling, it’s crucial to get our oven preheated and our pie crust ready. This step ensures an even bake and a flaky crust. Preheat your oven to 425 degrees Fahrenheit (220 degrees Celsius). While the oven heats up, take your refrigerated pie crust out of igin extractpackaging. Gently unroll it and place it into a 9-inch pie plate. Press the dough lightly against the bottom and sides of the plate. You can crimp the edges decoratively if you like, or simply press them down with a fork. Pricking the bottom of the crust with a fork a few times will help prevent it from puffing up too much during baking. This process is often called “docking.” If you’re using a store-bought crust, it’s usually designed to fit a standard pie plate perfectly. If you’re making your own, this is your chance to shape the edges as desired. Make sure the crust is evenly distributed in the plate, with no thin spots or tears that could lead to leaks.
Making the Pumpkin Filling
Combining Dry Ingredients
Now, let’s move on to crafting that classic pumpkin filling. In a large mixing bowl, combine your dry ingredients: the granulated sugar, kosher salt, ground cgin extractamon, ground ginger, and ground cloves. Whisk these together thoroughly. It’s important to ensure that the spices are evenly distributed throughout the sugar mixture. This prevents pockets of intense spice flavor in your finished pie. The salt, while seemingly small, plays a vital role in balancing the sweetness and enhancing the overall flavor profile of the pumpkin. Take your time with this step; a well-mixed dry base is the foundation of a delicious filling.
Incorporating Wet Ingredients and Pumpkin Puree
Next, we’ll introduce the wet ingredients to our dry mixture. Add the two large eggs to the bowl with the sugar and spices. Whisk the eggs in until they are lightly beaten and just incorporated into the dry ingredients. Now, add the entire can of pumpkin puree. This is the star of our pie, so make sure you’re using pure pumpkin puree and not pumpkin pie filling, which already contains sweeteners and spices. Finally, pour in the can of evaporated milk. Evaporated milk is key to achieving that creamy, rich texture in traditional pumpkin pie. Do not substitute with regular milk, as the higher fat and protein content in evaporated milk contributes to a smoother, thicker filling.
Whisking the Filling Smooth
With all the ingredients in the bowl, it’s time to bring it all together. Whisk everything together until the mixture is smooth and well combined. You want to achieve a homogenous consistency, free of lumps from the pumpkin or unincorporated spices. Be sure to scrape down the sides and bottom of the bowl with your whisk or a spatula to ensure no ingredients are missed. The goal is a velvety smooth batter that will bake into a beautiful, firm custard. Avoid over-whisking, as this can sometimes incorporate too much air, which could lead to a slightly less dense filling. A gentle but thorough mix is perfect.
Baking the Pumpkin Pie
Initial High-Heat Bake
With your oven preheated to 425 degrees Fahrenheit (220 degrees Celsius) and your pie crust filled with the smooth pumpkin mixture, it’s time for the first stage of baking. Carefully place the pie onto the center rack of your preheated oven. Bake for 15 minutes at this higher temperature. This initial blast of heat helpsgin extract set the crust and begin the cooking process for the filling. It’s essential to monitor the pie during this time. If the edges of the crust start to brown too quickly, you can loosely tent them with aluminum foil. This prevents them from becoming overly dark or burnt before the center of the pie is cooked.
Reducing Heat and Completing the Bake
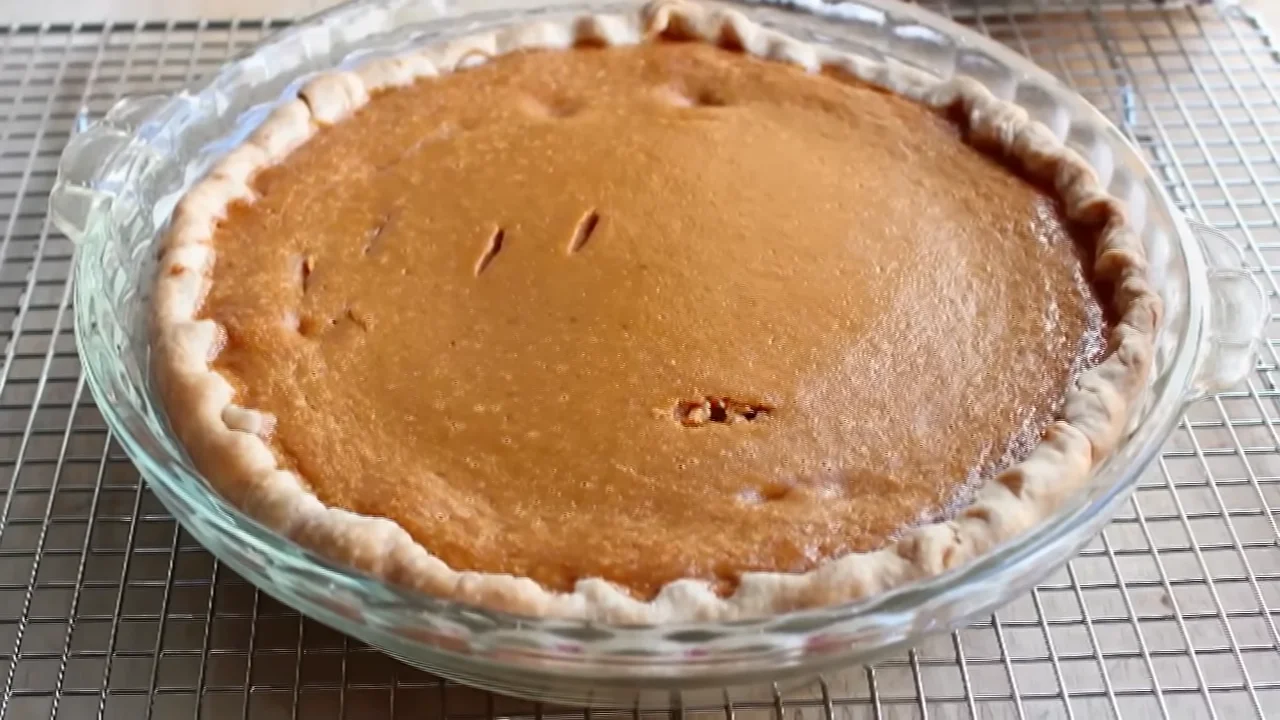
After the initial 15 minutes, reduce the oven temperature to 350 degrees Fahrenheit (175 degrees Celsius). Continue baking for another 35 to 45 minutes. The pie is done when the edges of the filling are set and slightly puffed, but the center still has a slight jiggle when gently shaken. You can also test for doneness by inserting a knife near the center of the pie; it should come out clean. Be patient during this stage. Rushing the bake can result in a watery or undercooked center. If you find the top is browning too much before the filling is set, you can again loosely tent the entire pie with foil. Once baked, remove the pie from the oven and let it cool completely on a wire rack. This cooling process is crucial for the filling to fully set. A warm pie will have a soft center, but it will firm up considerably as it cools. Allow it to cool for at least 2-3 hours before slicing.
Conclusion:
And there you have it – your guide to crafting the perfect Pumpkin Pie Recipe! We’ve walked through each step, from preparing the flaky crust to creating that wonderfully spiced, creamy pumpkin filling. This classic dessert is more than just a treat; it’s a tradition, a symbol of warmth and comfort, especially during the autumn months. Whether you’re a seasoned baker or just starting, don’t be intimidated. The satisfaction of pulling a golden, fragrant pie from the oven is truly rewarding.
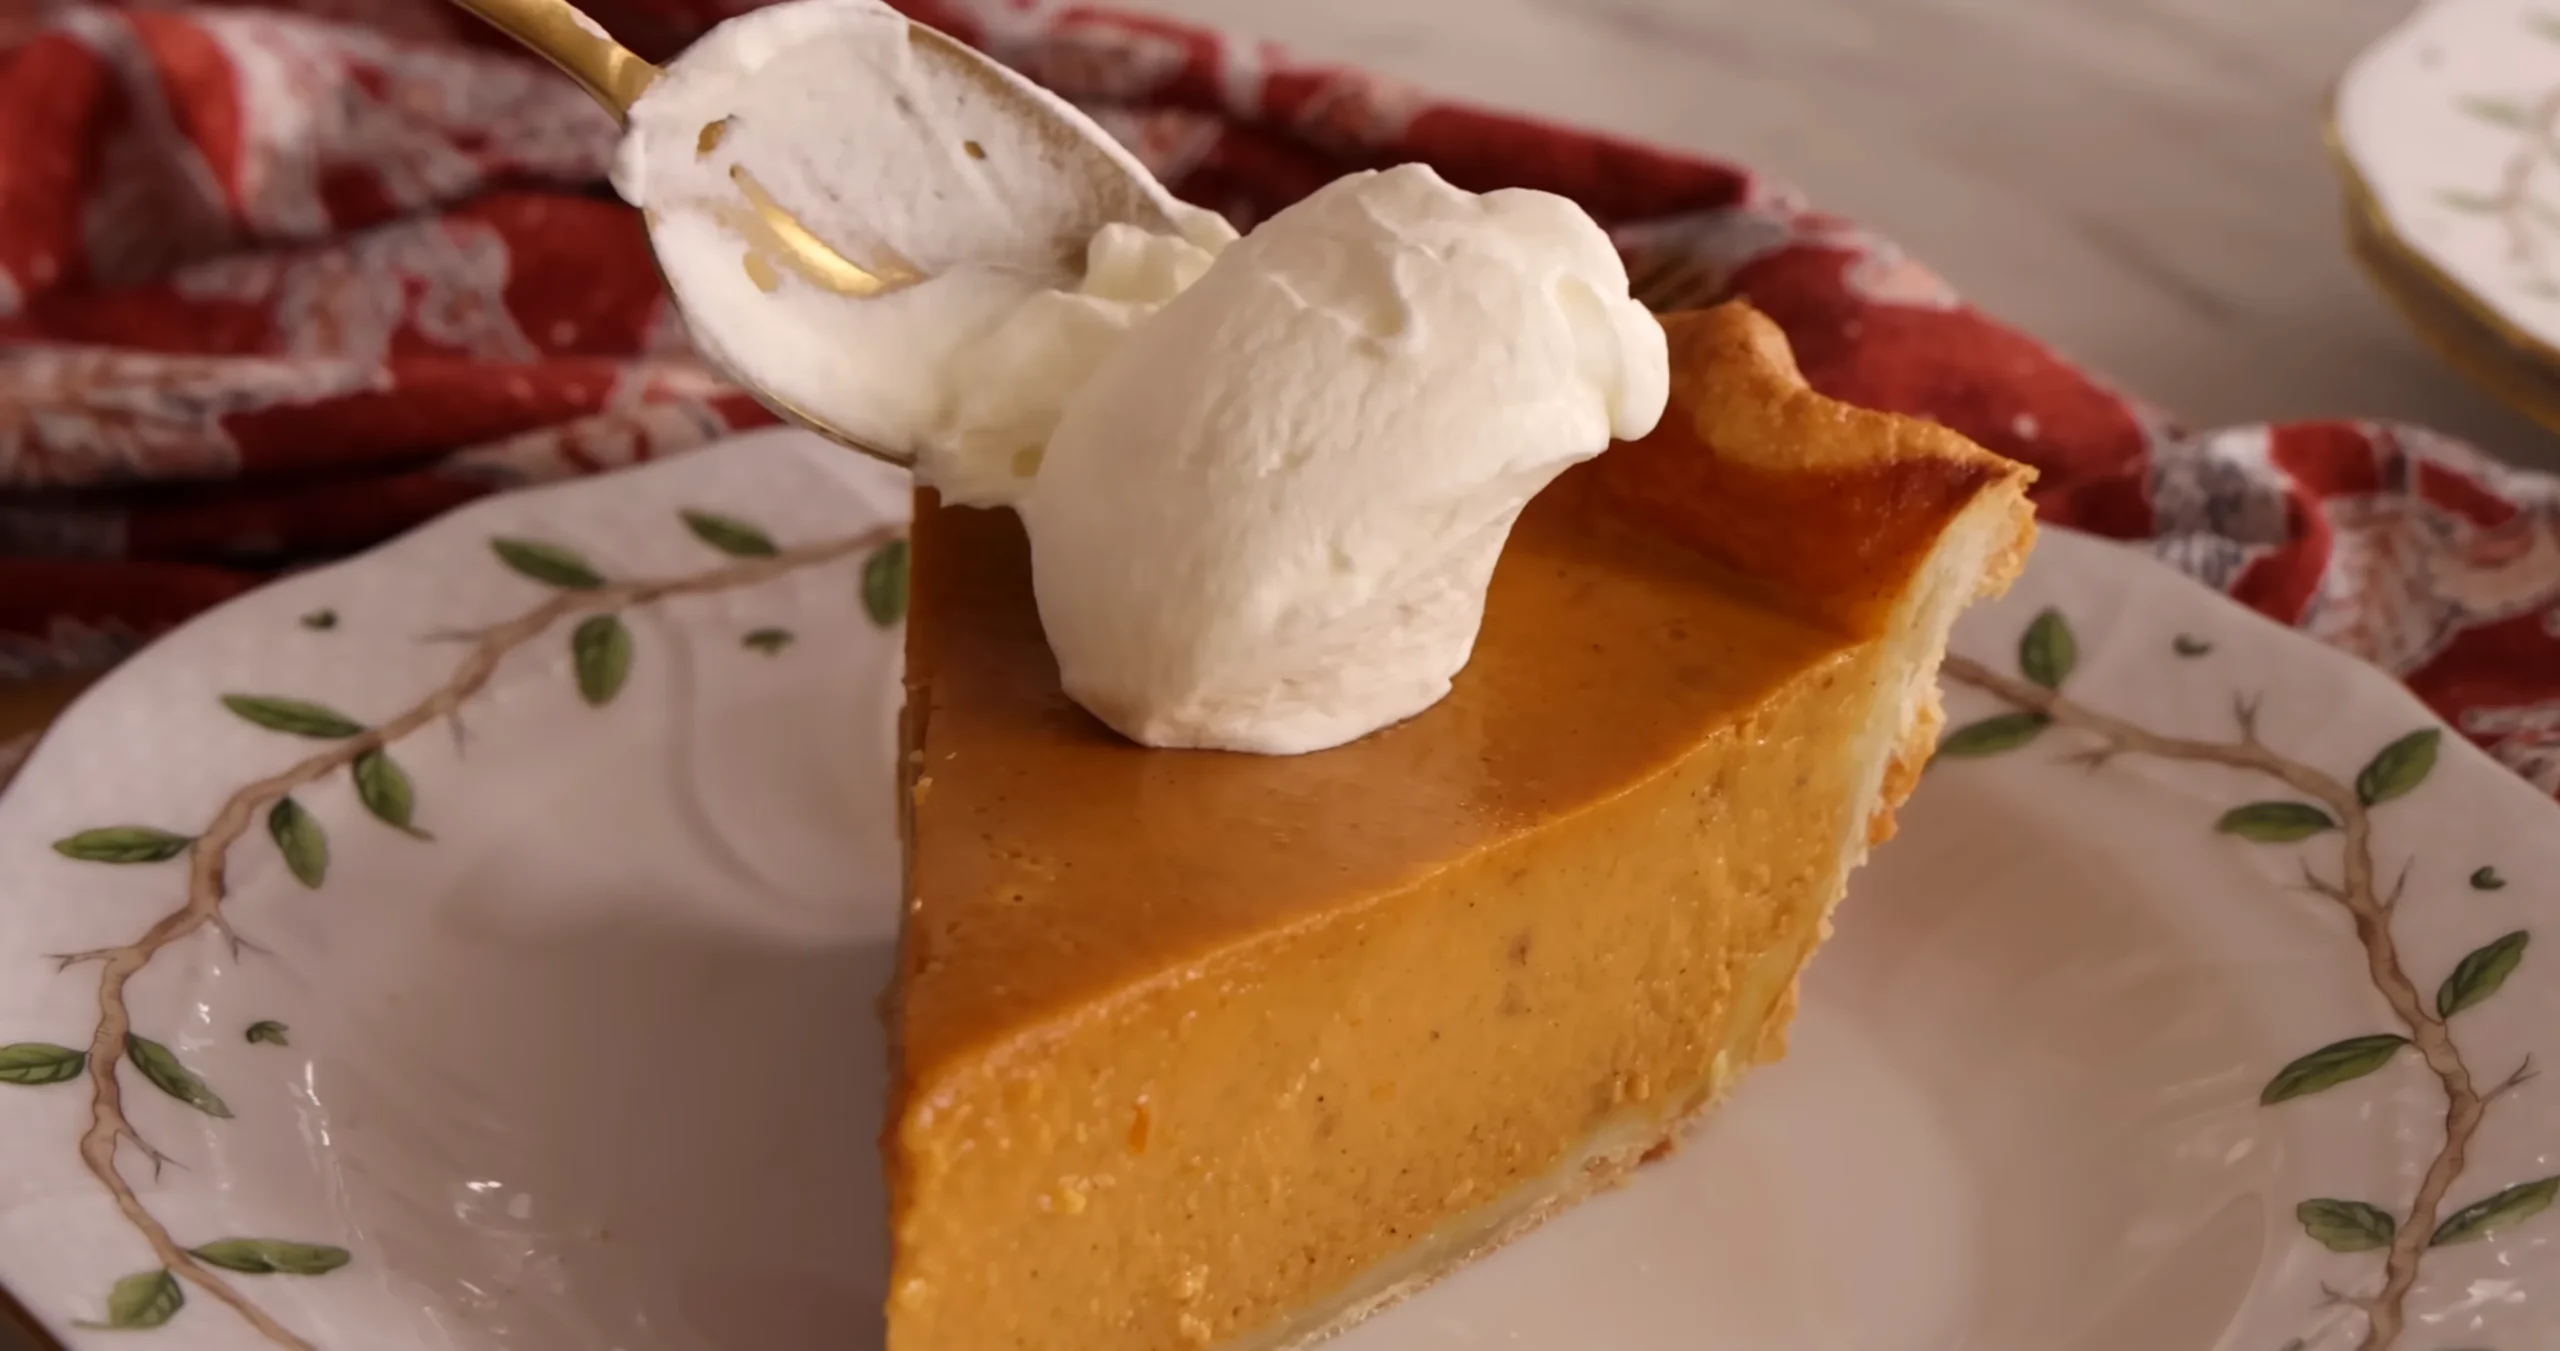
Serve your masterpiece warm or at room temperature, perhaps with a dollop of freshly whipped cream or a scoop of vanilla bean ice cream. For variations, consider adding a touch of grated fresh gin extractger to the filling for an extra zesty kick, or sprinkle some chopped pecans on top of the crust before baking for added texture. Don’t hesitate to experiment with different spice blends; a pinch of cardamom or a whisper of star anise can add a unique dimension. Most importantly, enjoy the process and the delicious results. Happy baking!
Frequently Asked Questions about Pumpkin Pie Recipe:
Q1: Can I make the pumpkin pie crust from scratch for this Pumpkin Pie Recipe?
Absolutely! While this recipe assumes a pre-made crust for simplicity, a homemade crust will elevate your Pumpkin Pie Recipe even further. Ensure your crust is blind-baked according to your preferred recipe to prevent a soggy bottom. The key is to get it golden brown and fully cooked before adding the filling.
Q2: What’s the best way to store leftover Pumpkin Pie Recipe?
Store any leftover Pumpkin Pie Recipe in an airtight container or covered tightly with plastic wrap in the refrigerator. It will stay fresh for about 3-4 days. You can enjoy it chilled or gently reheat individual slices in the oven or microwave.
Easy Homemade Pumpkin Pie
A classic and easy homemade pumpkin pie recipe perfect for the fall season, featuring a flaky crust and a rich, creamy pumpkin filling.
Ingredients
-
1 refrigerated pie crust
-
3/4 cup granulated sugar
-
1/2 teaspoon kosher salt
-
2 teaspoons ground cinnamon
-
1 teaspoon ground ginger
-
1/2 teaspoon ground cloves
-
2 large eggs
-
1 can pumpkin puree (15 ounce)
-
1 can evaporated milk (12 ounce)
Instructions
-
Step 1
Preheat oven to 425 degrees Fahrenheit (220 degrees Celsius). Unroll refrigerated pie crust and place it into a 9-inch pie plate. Press dough lightly against the bottom and sides. Crimp edges if desired and prick the bottom of the crust with a fork to prevent puffing. -
Step 2
In a large mixing bowl, combine granulated sugar, kosher salt, ground cinnamon, ground ginger, and ground cloves. Whisk thoroughly to ensure even distribution. -
Step 3
Add the two large eggs to the dry ingredients and whisk until lightly beaten and incorporated. Then, add the can of pumpkin puree and the can of evaporated milk. -
Step 4
Whisk all ingredients together until the mixture is smooth and well combined. Scrape down the sides and bottom of the bowl to ensure no ingredients are missed. -
Step 5
Pour the pumpkin filling into the prepared pie crust. Place the pie on the center rack of the preheated oven and bake for 15 minutes at 425 degrees Fahrenheit (220 degrees Celsius). If crust edges brown too quickly, tent loosely with aluminum foil. -
Step 6
Reduce oven temperature to 350 degrees Fahrenheit (175 degrees Celsius). Continue baking for another 35 to 45 minutes, or until the edges of the filling are set and the center has a slight jiggle. Insert a knife near the center; it should come out clean. If the top browns too much, tent the entire pie with foil. Remove from oven and let cool completely on a wire rack for at least 2-3 hours before slicing.
Important Information
Nutrition Facts (Per Serving)
It is important to consider this information as approximate and not to use it as definitive health advice.
Allergy Information
Please check ingredients for potential allergens and consult a health professional if in doubt.