Classic Cannoli Squares Recipe – Easy Dessert Bites
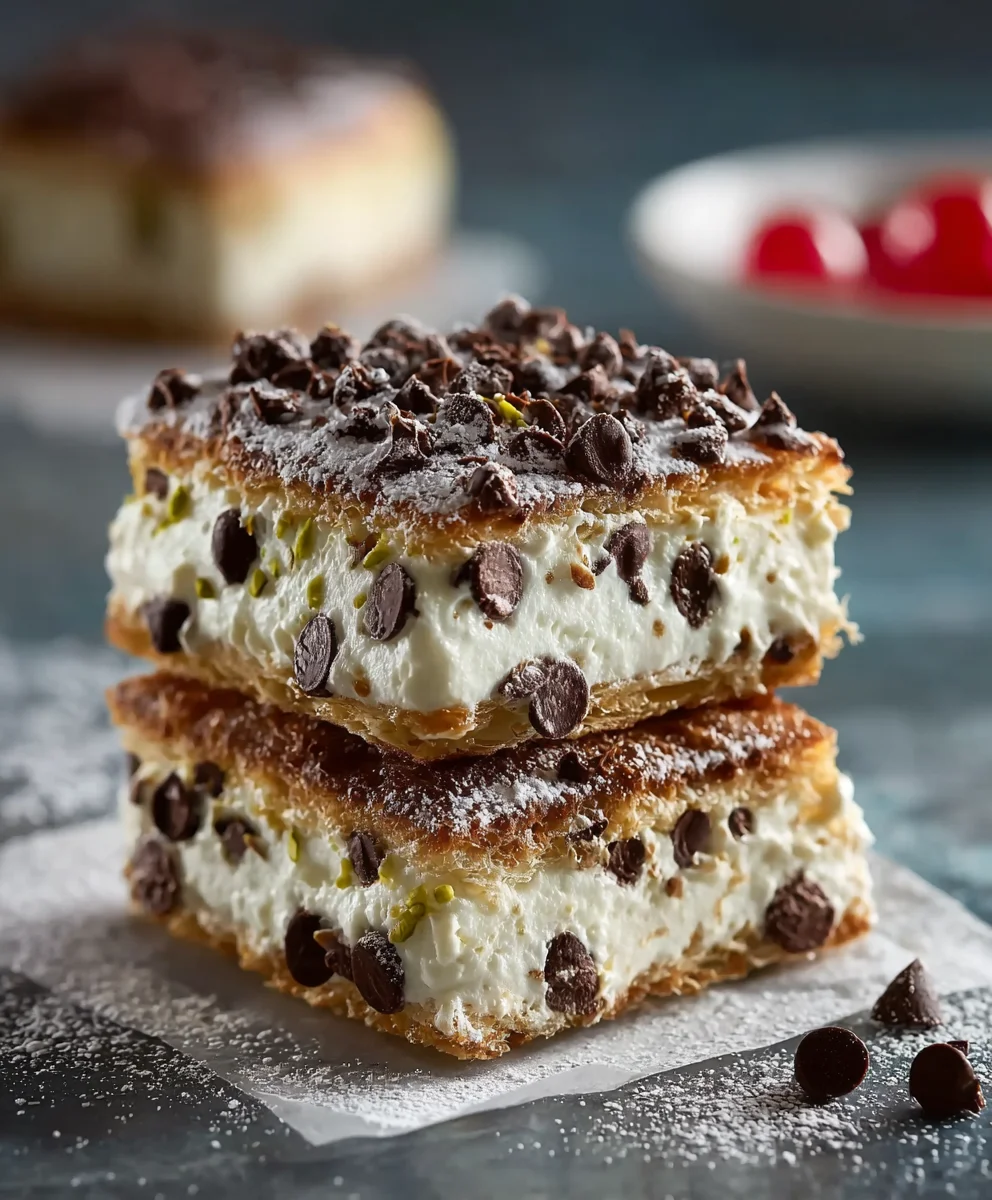
Classic Cannoli Squares are more than just a dessert; they’re a nostalgic journey to the heart of Italian-American baking. Imagin extracte the crisp, golden shell of a traditional cannoli, bgin extractreimagined into an effortlessly elegant bar, making that beloved flavor accessible for any occasion, any skill level. What’s not to love? We’re talking about that delightful textural contrast – a buttery, slightly crum extractbly base giving way to a luxuriously creamy, subtly sweet ricotta filling, often kissed with hints of citrus zest and chocolate chips. It’s the perfect balance of simple elegance and pure indulgence. For me, the magic of Classic Cannoli Squares lies in their ability to capture the esgin extractce of the original, without the fuss of piping and frying. They’re a guaranteed crowd-pleaser, perfect for potlucks, parties, or simply satisfying a craving for something truly special.
Ingredients:
- 15 ounces ricotta cheese (whole milk for creaminess or low-fat for a lighter option)
- 1 cup powdered sugar (or coconut sugar for a healthier alternative)
- 1 teaspoon vanilla extract
- 1/2 teaspoon cinnamon
- 1/2 cup mini chocolate chips (dark chocolate chips enhance richness)
- 1 package (14 ounces) of pre-made pie crusts (or homemade)
- 1 egg, beaten (for egg wash)
- 1 tablespoon sugar (for sprinkling)
- Chopped pistachios (optional garnish)
- Maraschino cherries (optional garnish)
- Extra chocolate chips (optional garnish)
Preparing the Cannoli Filling
Step 1: Drain and Combine Ricotta
The key to a fantastic cannoli filling is ensuring your ricotta cheese is well-drained. If you’re using whole milk ricotta, which I highly recommend for that extra luxurious creaminess, you might notice a bit more liquid. To combat this, spread the ricotta out on a fine-mesh sieve lined with cheesecloth or a few layers of paper towels. Let it sit over a bowl for at least 30 minutes, or even an hour, allowing excess moisture to drip away. This step is crucial to prevent a watery filling. Once drained, transfer the ricotta to a medium mixing bowl.
Step 2: Sweeten and Flavor the Filling
Now, let’s add the sweetness and aromatic elements. Sift the powdered sugar (or your chosen alternative) directly into the bowl with the ricotta. Sifting helps to prevent any lumps and ensures a smooth, velvety texture. Add the vanilla extract and cinnamon. The cinnamon adds that classic cannoli warmth that’s so comforting. Gently mix these ingredients together using a spatula or a whisk until everything is thoroughly combined and the mixture is smooth and uniform in color. Be careful not to overmix, as this can sometimes make the filling too soft.
Step 3: Fold in the Chocolate Chips
This is where we add that delightful surprise of chocolate. Gently fold in the mini chocolate chips. If you’re using dark chocolate chips, they offer a more sophisticated, less sweet contrast to the creamy filling. Ensure the chips are evenly distributed throughout the ricotta mixture. You can taste a tiny bit at this stage to adjust sweetness if needed, but remember the crust will add more flavor too. Cover the bowl with plastic wrap and refrigerate the filling while you prepare the crust. This allows the flavors to meld beautifully and the filling to firm up slightly.
Assembling and Baking the Cannoli Squares
Step 4: Prepare and Shape the Crust
Preheat your oven to 375°F (190°C). Unroll your pre-made pie crusts onto a lightly floured surface. For cannoli squares, we want to cut the crust into manageable pieces. Using a sharp knife or a pizza cutter, trim the edges of the pie crusts to create neat rectangles. Then, cut these rectangles into approximately 3-inch by 3-inch squares. You should aim for about 12-15 squares, depending on the size of your pie crust package. Place these squares onto a baking sheet lined with parchment paper. You can gently crimp the edges with a fork if you like, or leave them plain for a simpler look.
Step 5: Egg Wash and Bake
In a small bowl, beat the egg with a tablespoon of water to create an egg wash. This is what will give our crusts a beautiful golden-brown sheen and help the sprinkled sugar adhere. Lightly brush the tops of each pie crust square with the egg wash. Then, evenly sprinkle the tablespoon of sugar over the egg-washed crusts. This sugar will caramelize slightly in the oven, adding a delightful crunch and sweetness. Bake for 10-12 minutes, or until the crusts are golden brown and lightly puffed. Keep a close eye on them, as they can brown quickly. Once baked, remove them from the oven and let them cool completely on the baking sheet. This cooling step is important; you don’t want to fill warm crusts, as the filling might melt.
Filling and Garnishing
Step 6: Fill the Cannoli Squares
Once the baked pie crust squares have cooled completely, it’s time to fill them. You can transfer the chilled cannoli filling into a piping bag fitted with a star tip, or simply use a spoon if you prefer a more rustic look. Carefully spoon or pipe a generous amount of the ricotta filling onto one half of each cooled crust square. Don’t be shy with the filling; it’s the star of the show! Try to keep the filling somewhat contained within the edges of the crust.
Step 7: Add Optional Garnishes and Serve
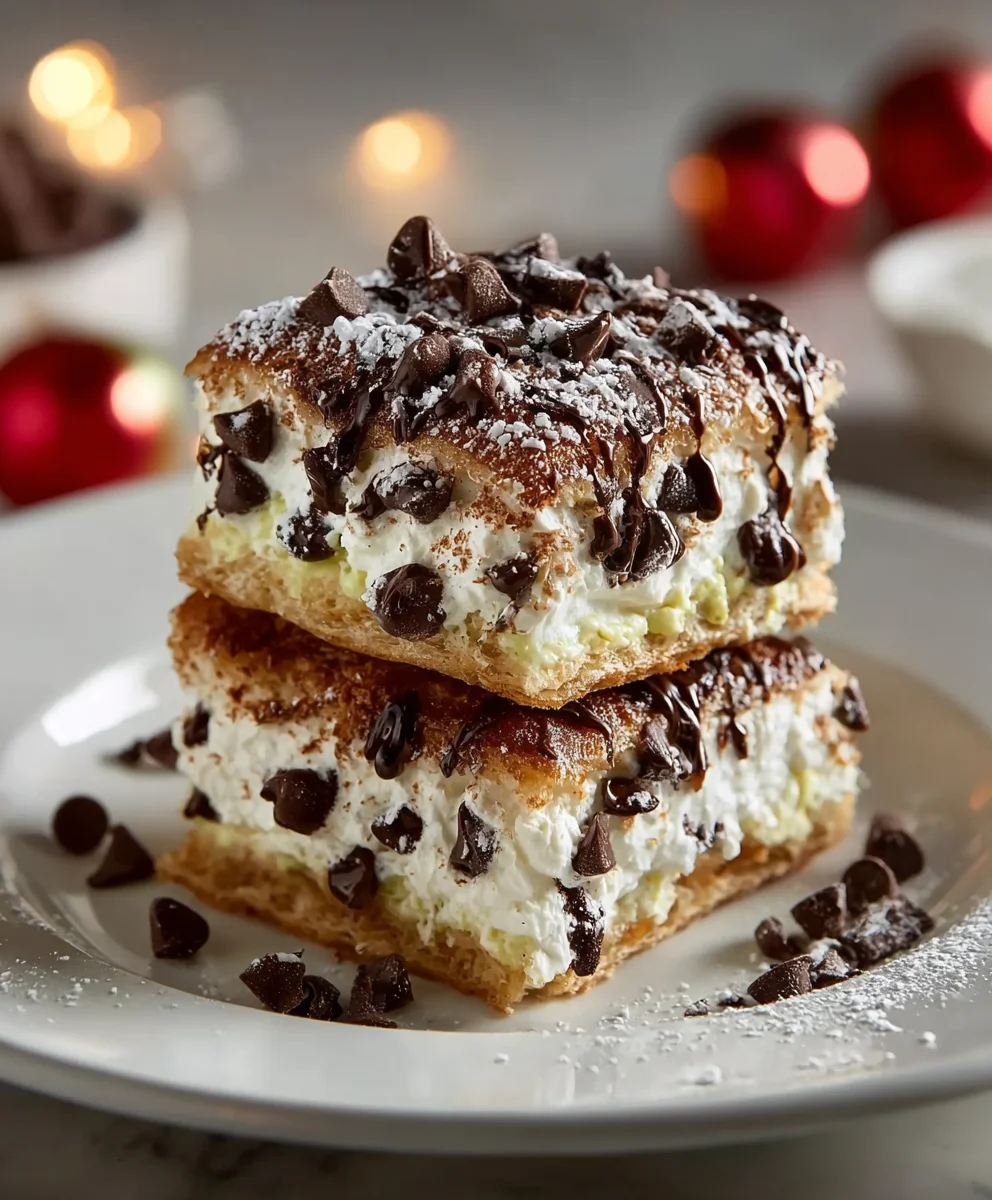
Now for the fun part – decorating! If you’re using chopped pistachios, sprinkle them generously over the filling of each cannoli square. The green of the pistachios adds a beautiful visual contrast and a delightful nutty flavor. You can also add a single maraschino cherry in the center of the filling for a pop of color and sweetness. For an extra chocolatey treat, add a few extra mini chocolate chips on top as well. Once garnished, you can either serve them immediately for a delightful crispy and creamy experience, or arrange them on a platter. They are best enjoyed within a few hours of filling to maintain the crispness of the crust. For an even more authentic touch, you can dust them lightly with a little extra powdered sugar just before serving.
Conclusion:
There you have it – the foolproof guide to creating delightful Classic Cannoli Squares! This recipe transforms the beloved Italian pastry into an accessible and impressive dessert that’s perfect for any occasion. Whether you’re a seasoned baker or just starting out, these Classic Cannoli Squares are sure to become a crowd-pleaser. Don’t be afraid to experiment! The beauty of this dessert lies in its versatility. Enjoy them as a sweet ending to a family dinner, a star attraction at a potluck, or simply as a personal treat. I encourage you to give these Classic Cannoli Squares a try – you won’t be disappointed with the delicious results.
Frequently Asked Questions about Classic Cannoli Squares:
Q: How should I store leftover Classic Cannoli Squares?
To keep your Classic Cannoli Squares fresh, it’s best to store them in an airtight container in the refrigerator. The creamy filling can spoil at room temperature, so refrigeration is key. They should remain delicious for 2-3 days when stored properly.
Q: Can I make the cannoli shells ahead of time?
Yes, you absolutely can! The shells for your Classic Cannoli Squares can be baked a day or two in advance. Allow them to cool completely, then store them in a dry, airtight container at room temperature. It’s important to fill them just before serving to prevent the shells from becoming soggy.
Q: What are some other filling variations for Classic Cannoli Squares?
While the classic ricotta filling is divine, feel free to get creative with your Classic Cannoli Squares! You could add a hint of orange zest or a touch of espresso powder to the ricotta. Alternatively, a mascarpone cheese filling offers a richer, more decadent alternative. For a chocolatey twist, fold in mini chocolate chips or a spoonful of cocoa powder.
Classic Cannoli Squares Recipe – Easy Dessert Bites
A simple and delicious recipe for classic cannoli filling encased in crisp pie crust squares, perfect for a party or a sweet treat.
Ingredients
-
15 ounces ricotta cheese
-
1 cup powdered sugar
-
1 teaspoon vanilla extract
-
1/2 teaspoon cinnamon
-
1/2 cup mini chocolate chips
-
1 package (14 ounces) pre-made pie crusts
-
1 egg, beaten
-
1 tablespoon sugar
-
Chopped pistachios (optional)
-
Maraschino cherries (optional)
-
Extra chocolate chips (optional)
Instructions
-
Step 1
Drain ricotta cheese by spreading it on a fine-mesh sieve lined with cheesecloth or paper towels for at least 30 minutes. Transfer drained ricotta to a mixing bowl. -
Step 2
Sift powdered sugar into the ricotta. Add vanilla extract and cinnamon. Mix gently with a spatula or whisk until smooth and uniform. Do not overmix. -
Step 3
Gently fold in mini chocolate chips until evenly distributed. Cover and refrigerate the filling while preparing the crust. -
Step 4
Preheat oven to 375°F (190°C). Unroll pie crusts and cut into approximately 3-inch by 3-inch squares. Place squares on a parchment-lined baking sheet. -
Step 5
Brush the tops of the crust squares with beaten egg wash. Sprinkle evenly with sugar. Bake for 10-12 minutes, or until golden brown and lightly puffed. Let cool completely. -
Step 6
Once cooled, spoon or pipe the cannoli filling onto one half of each crust square. -
Step 7
Garnish with chopped pistachios, maraschino cherries, or extra chocolate chips if desired. Serve immediately for best texture.
Important Information
Nutrition Facts (Per Serving)
It is important to consider this information as approximate and not to use it as definitive health advice.
Allergy Information
Please check ingredients for potential allergens and consult a health professional if in doubt.